
.NET feature flag: a step-by-step guide with Xamarin example


In this ".NET feature flag" article I'll show you how to use feature flags in an existing Xamarin application, but you can use the same approach on WPF, ASP.Net or any other framework on .NET such as Unity or Godot.
Prerequisites:
- Some Experience in .NET- Any knowledge of GitHub
- A free Flagsmith account for your project.
Background on Flagsmith - .Net feature flagging tool:
Flagsmith is a feature management platform that allows you to fully test and control features simply by flicking a toggle. Beyond basic feature management, you can also store environment variables such as connection strings, background colors or even a discount percentage for products on your e-commerce website. This can save teams a ton of time, because you don’t have to create a separate admin panel to manage all the switches and content. Enough with the overview, let's dive into this .Net feature flag guide!
Step-by-Step tutorial on adding Flagsmith - .Net feature flag tool:
First let’s clone a simple Todo application from here (https://github.com/xamarin/xamarin-forms-samples/tree/main/Todo)
Now open the folder where you should have many samples. From here open Todo where you will see a Todo.Sln file. If you use Visual studio just double click it and it will open the project right up. If you're an ASP.Net developer this may seem weird to you, but bear with me. The integration of Flagsmith has nothing to do with Xamarin, so understand this and you'll be good to go.
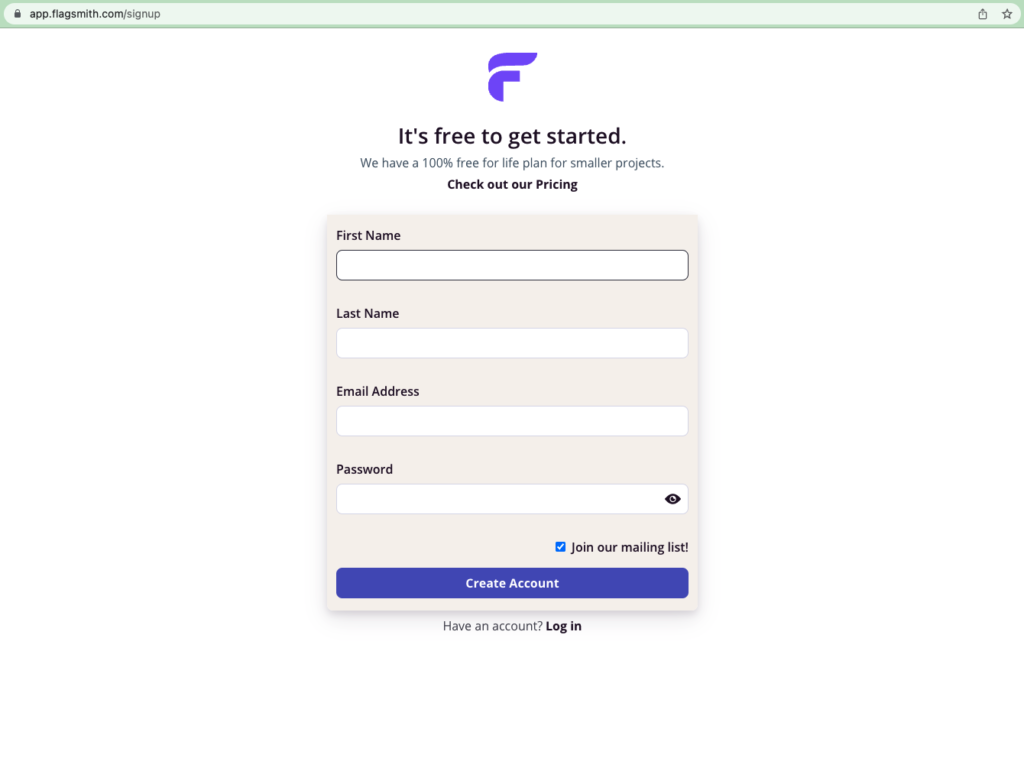
Before we add the SDK to our project let's first sign up on Flagsmith.com and add some features we're going to use.
Go to https://app.flagsmith.com/signup/.
After Signing-in you will be asked to create a new organization, I’ll input "Awesome Article".
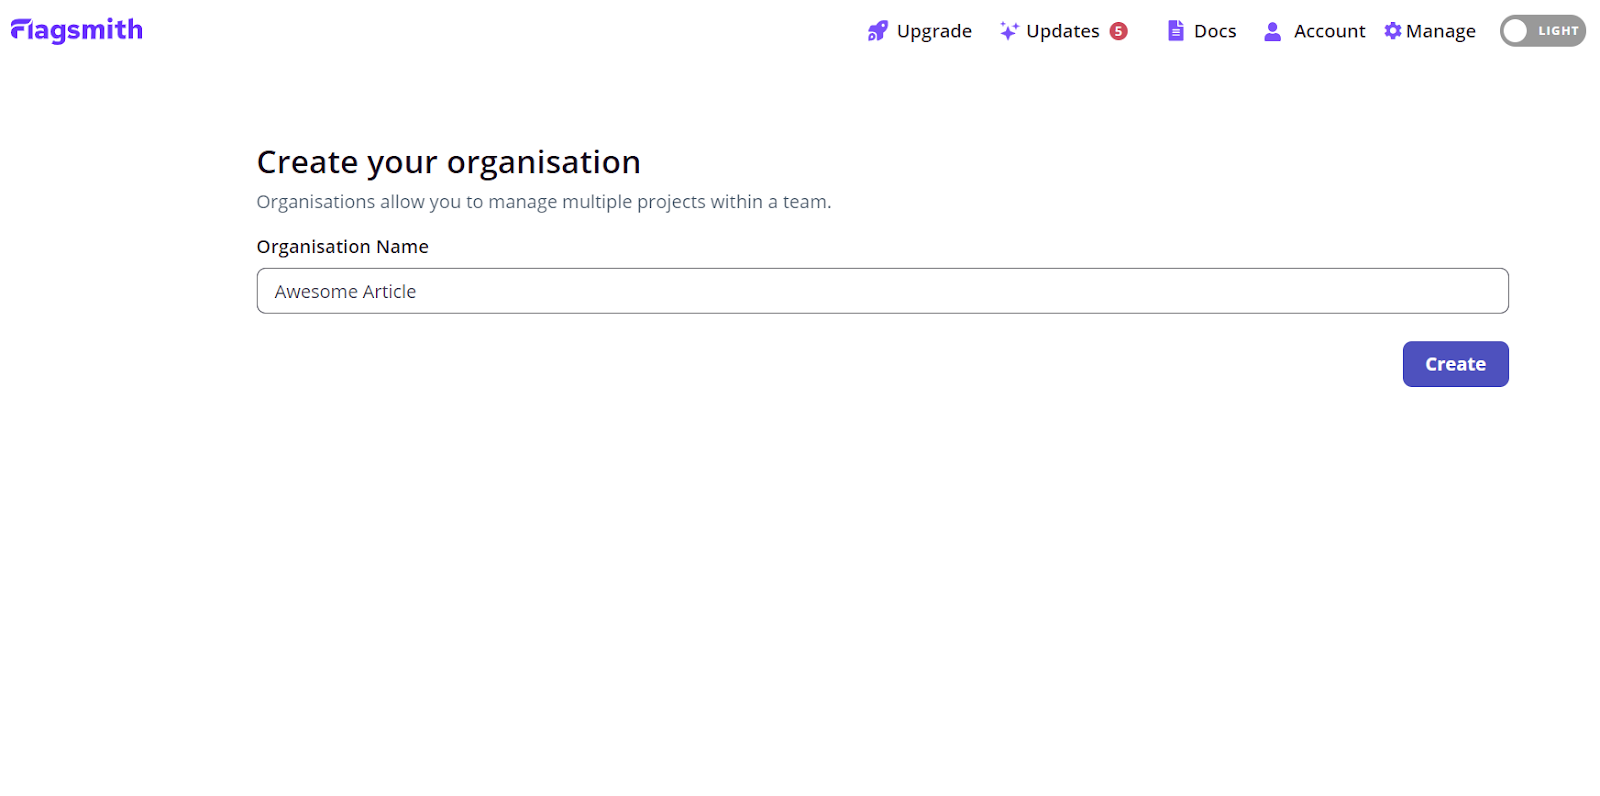
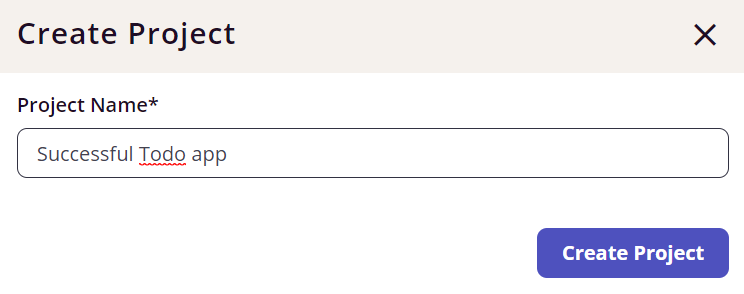
Next, create a new project, I’ll create "Successful Todo App".
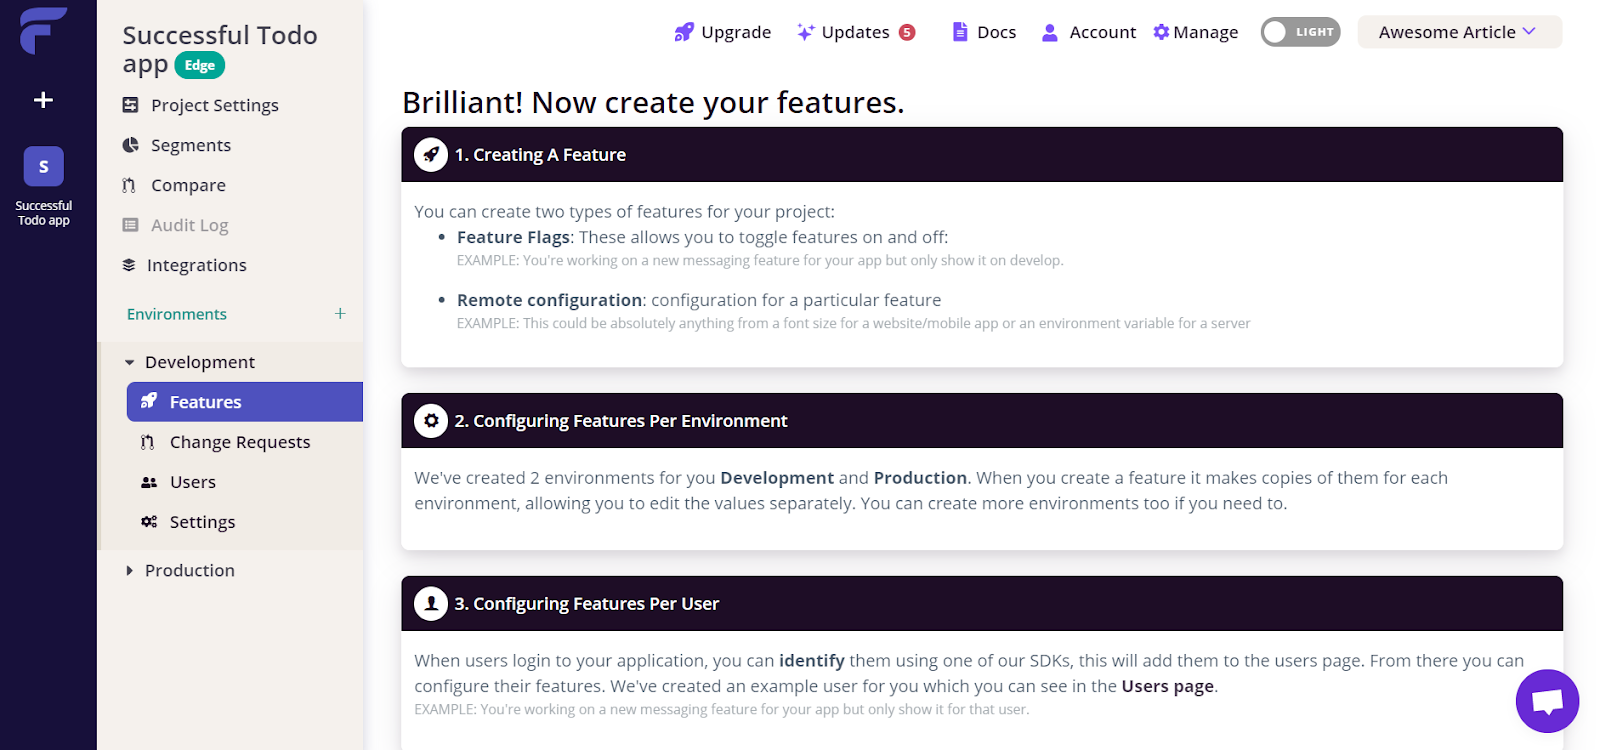
You will have arrived at the dashboard that looks like this:
I am thinking of having a maintenance flag for our app that will not allow adding more Todos because our servers are being updated. Also, I want myself (as a product owner) to have control over the look and feel of my app so a flag for header color is also needed.
To add the following flags, click on “Create your First Feature” (you need to scroll down to see it)

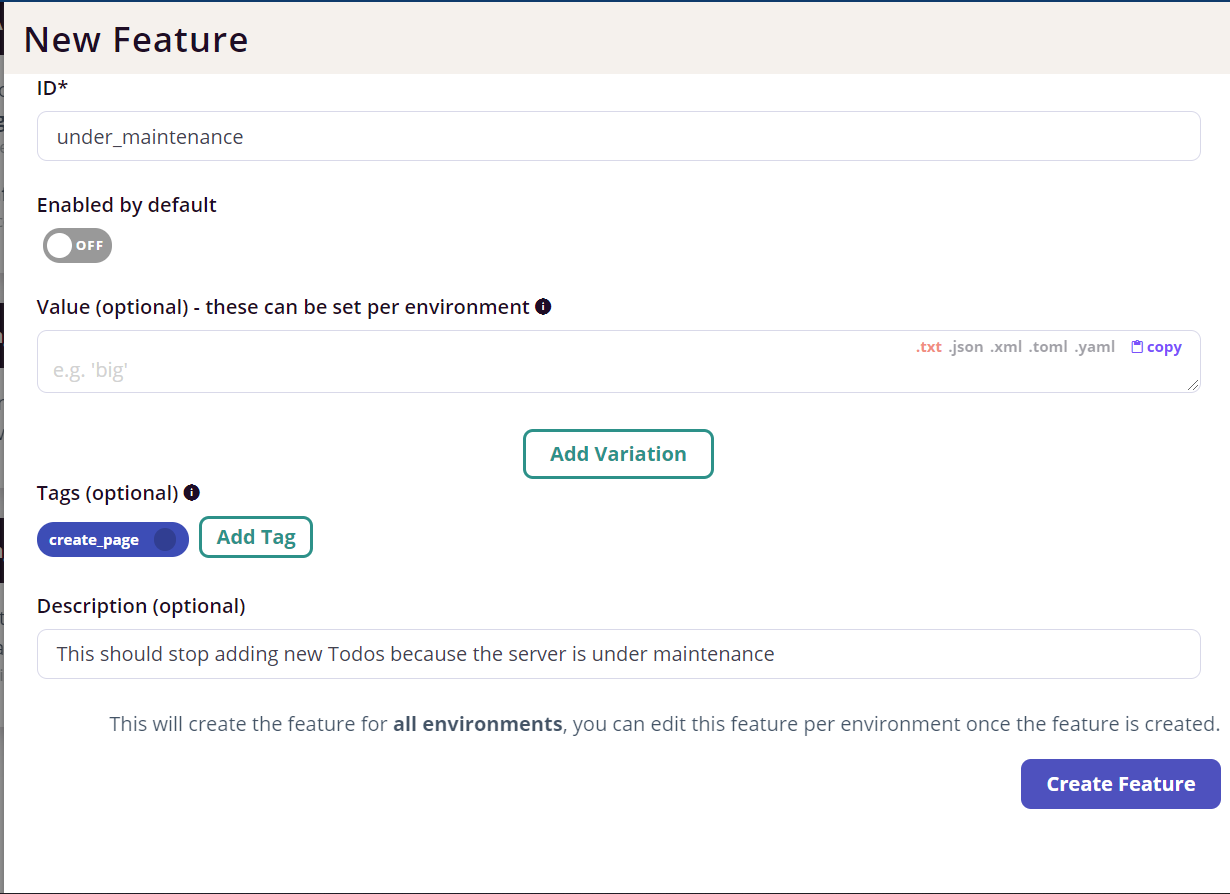
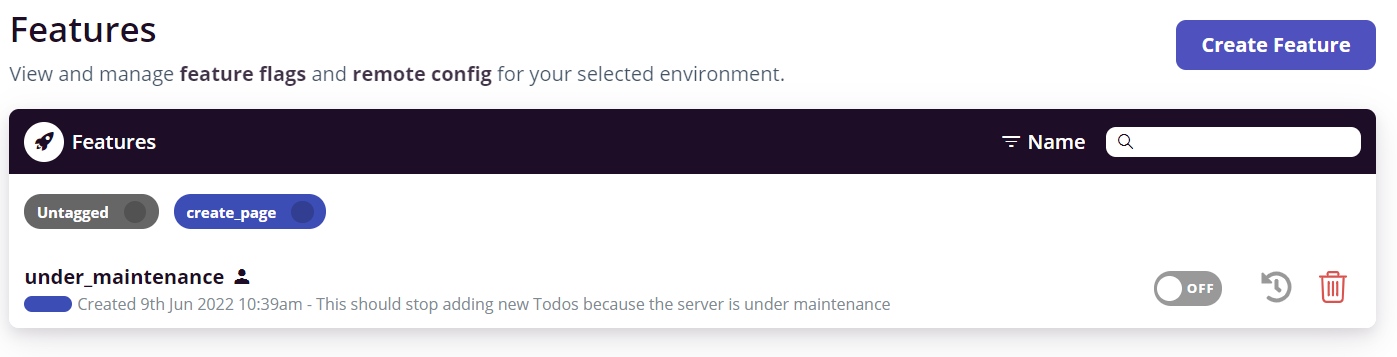
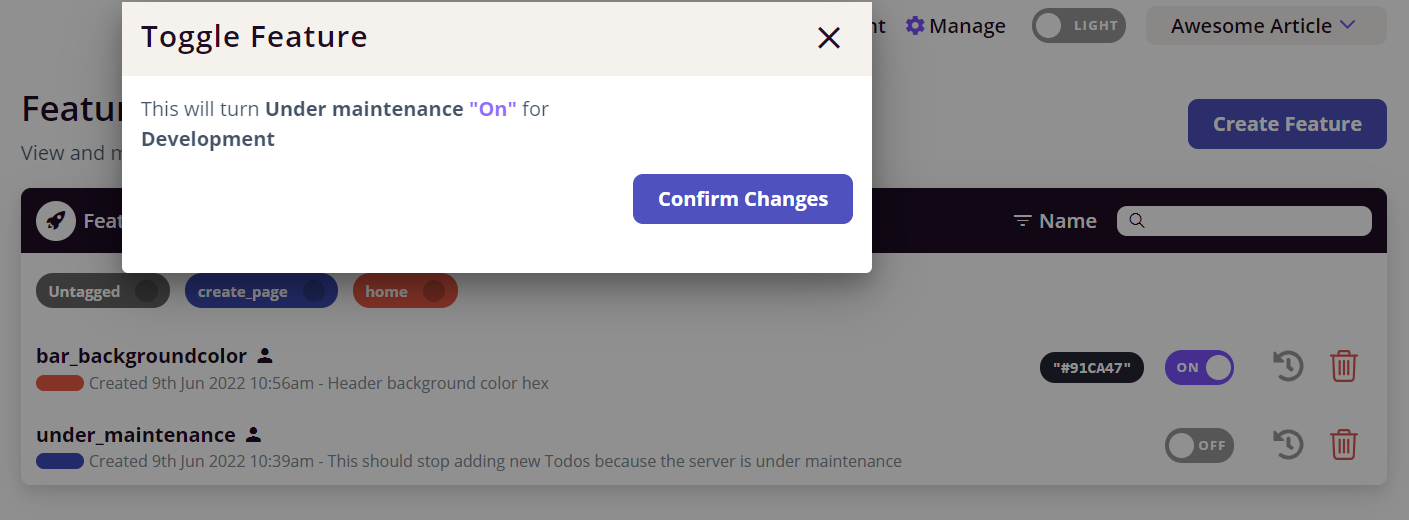
Write the Id “under_maintenance” and give it the description “This should stop adding new Todos because the server is under maintenance”, also add a tag of “create_page” by clicking Add Tag, typing “create_page” and pressing 'Enter' (this will help during development to know which page will this flag be used in) and leave the Value(optional field) empty and click on “Create Feature”
This will add be added to your nice-looking features list
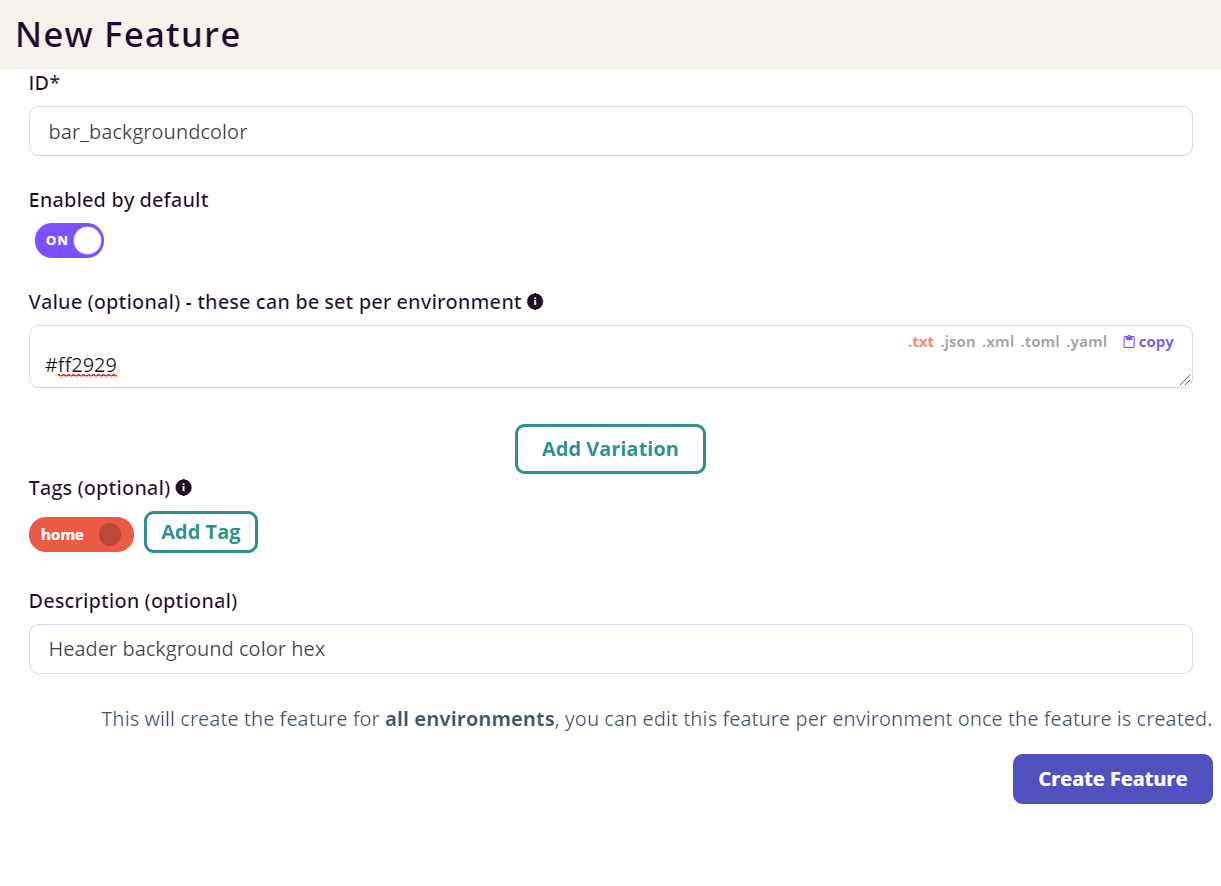
Create another feature by clicking “Create Feature”. This time add with Id “bar_backgroundcolor”, description “Header background color hex” and value “#91CA47”, also add the tag “home”, and set “Enabled by default” to ON.
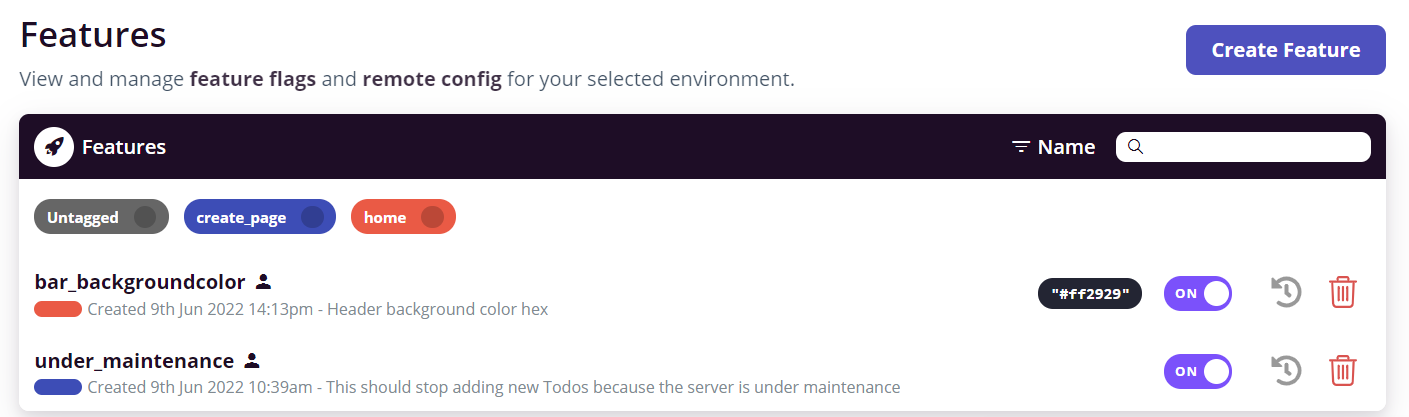
Now you should have two new features in your list
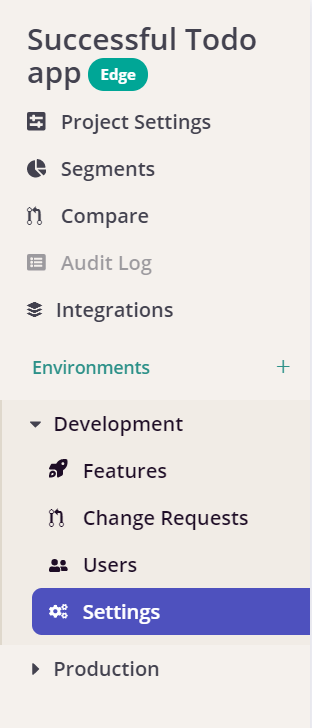
You will need the environment key later so copy the development environment key from settings.
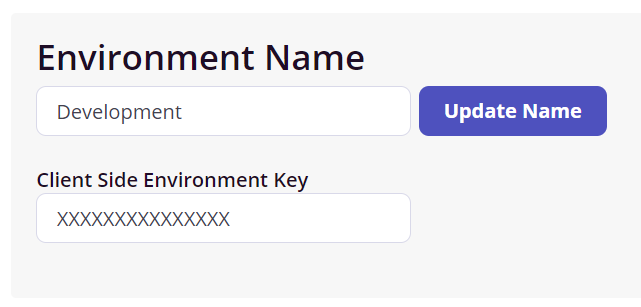
Copy the “Client Side Environment Key”
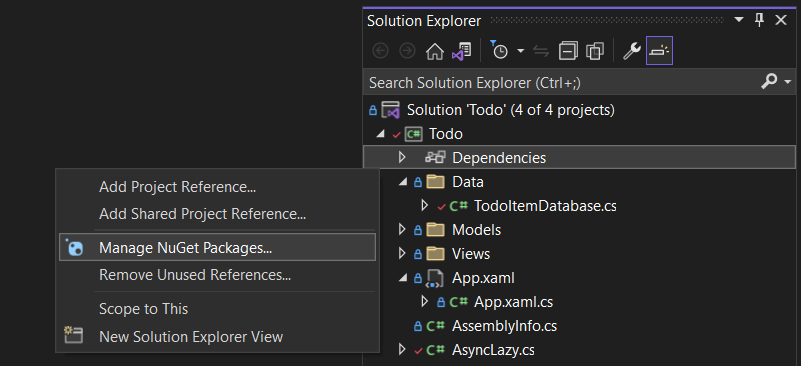
All of the flags we want are added, let’s implement them in our project, in your solution explorer expand Todo, right click “Dependencies” and click on “Manage NuGet Packages...”
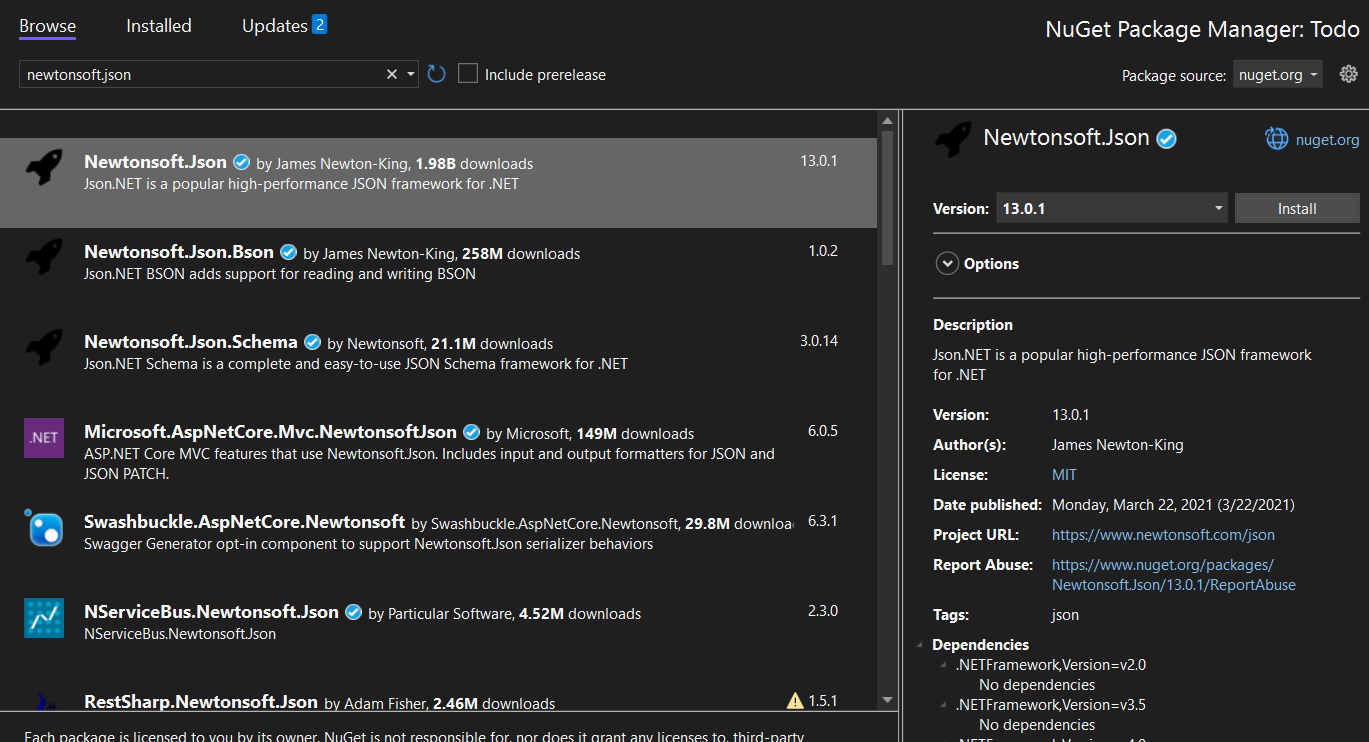
First add “Newtonsoft.Json”
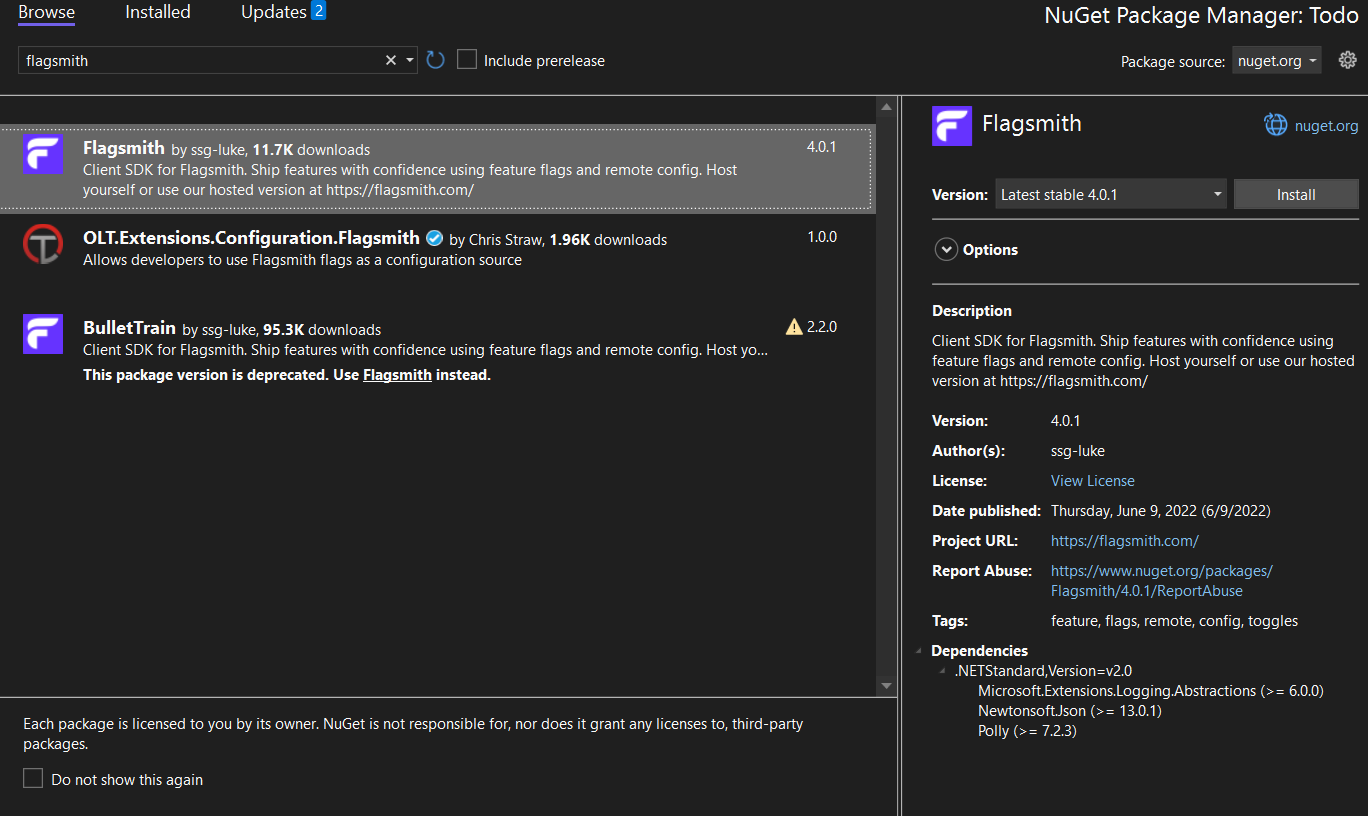
Next install “Flagsmith”
To check if flags are enabled or getting its value you first need to initialize the FlagsmithClient object with the environment key. If you’re using Dependency Injection (popular in ASP.Net) in your project you can simply register a singleton instance of it like this
Example in Microsoft DI:
And simply request it in the constructor
But, in this project we will be using AsyncTask<T> class present in the root of the project, for more information read about it here (https://docs.microsoft.com/en-us/xamarin/xamarin-forms/data-cloud/data/databases)
First create a SingletonFlags class to initialize the flags once, this is the class we will be using:
This basically loads the flags and store a singleton instance so you don’t have to instantiate/reload them every time.
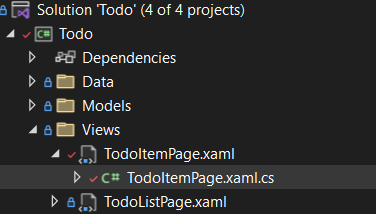
Now open /Views/TodoItempage.cs
Change your OnSaveClicked() method to this:
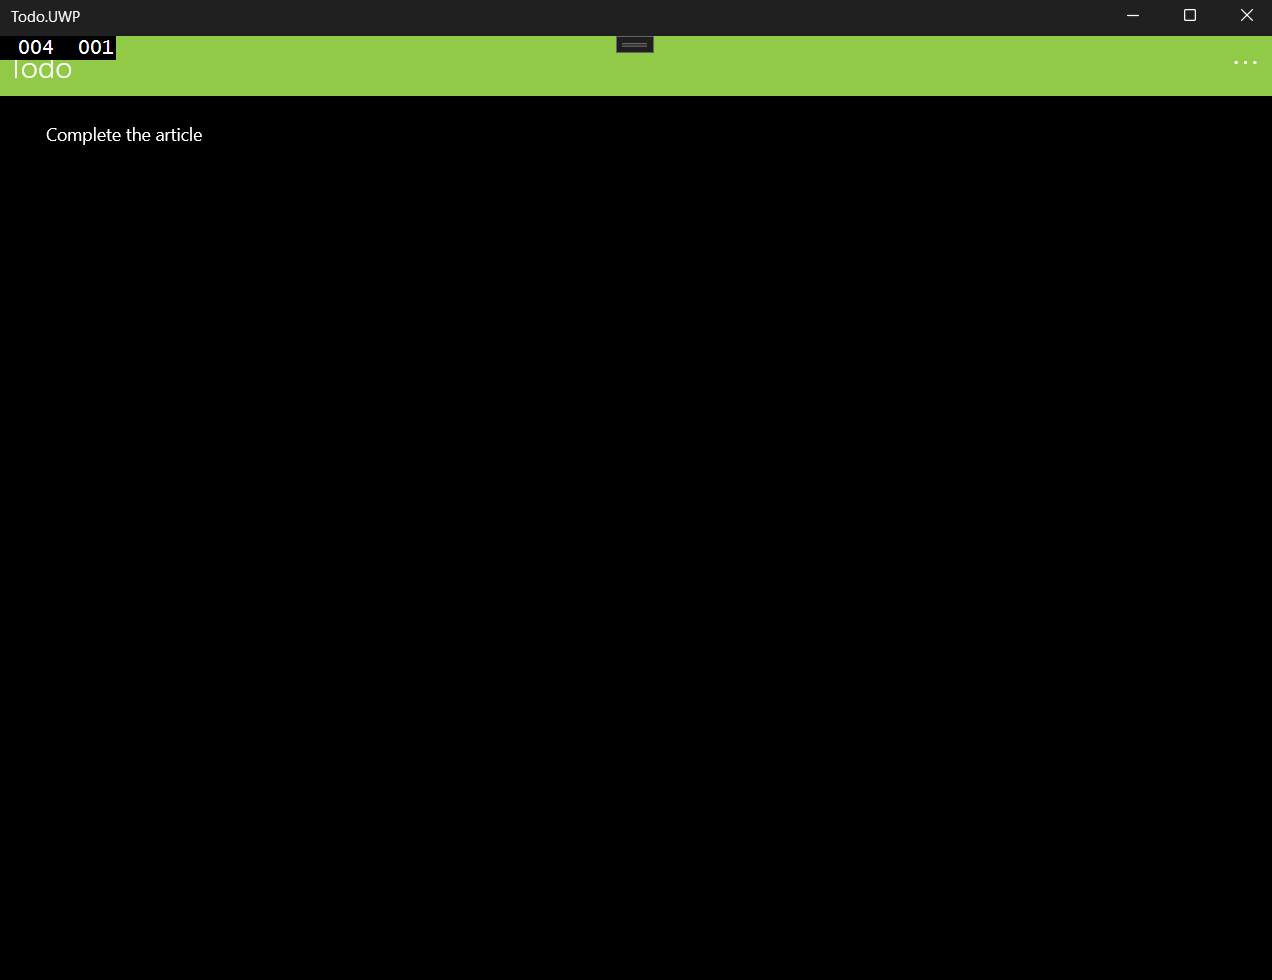
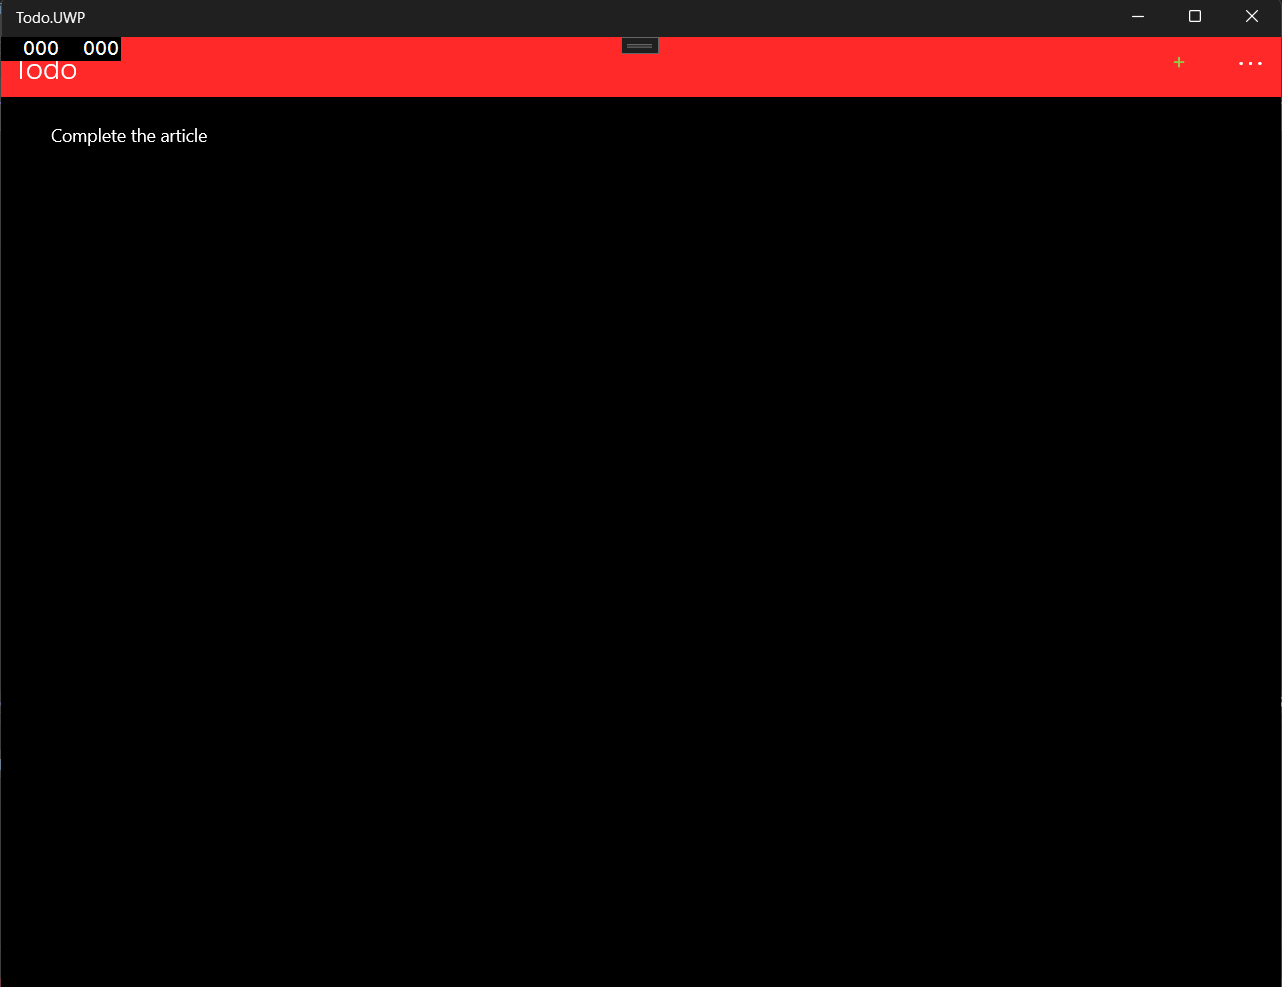
Now go ahead and run the app, when you try to add a new Todo you should get a warning like this:
To check if it works open up your dashboard and switch it on
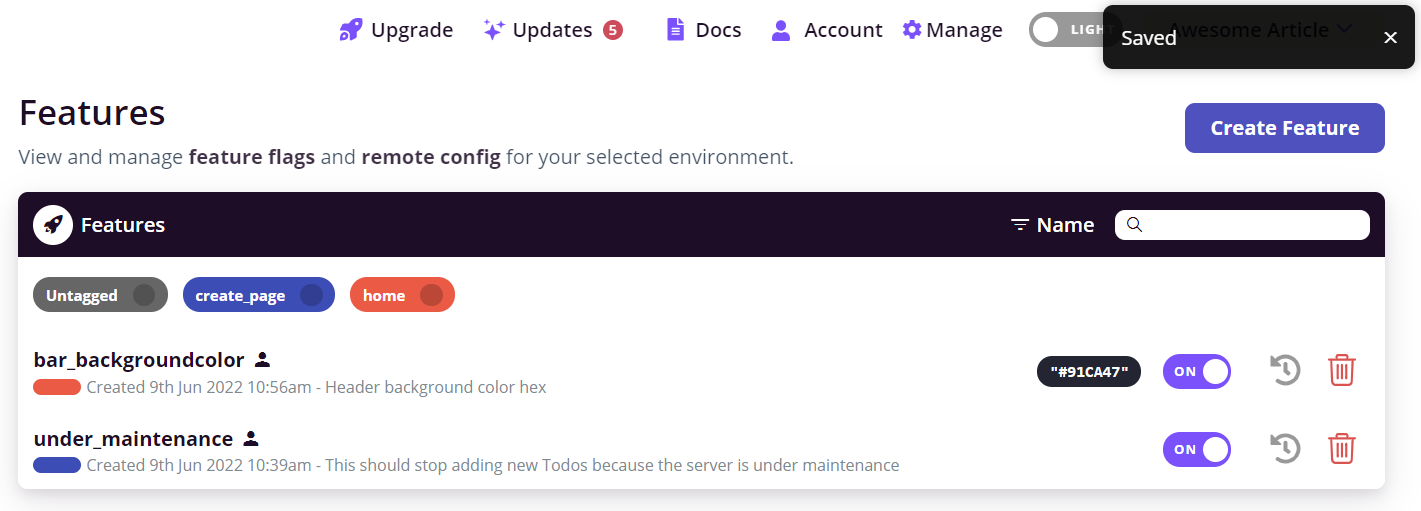
This will allow you to save items successfully now
Scaffolding all the flags compile time for strongly typed languages
Before we customize our bar color, I want to draw your focus towards await flags.IsFeatureEnabled("under_maintenance"), here as you can see, we need to pass the feature as string literal, we should create an Enum for it so we don’t do that but what if you have so many features? Now you have to maintain a 1:1 relation with the Flagsmith flags and your Enums. Well luckily there is a way to scaffold all the flags as Enum compile-time.
I have created a gist for it here: https://gist.github.com/amunim/f5e4e2faed6bbda611c70d7e14931738/
Just copy this file into the root directory and run it.
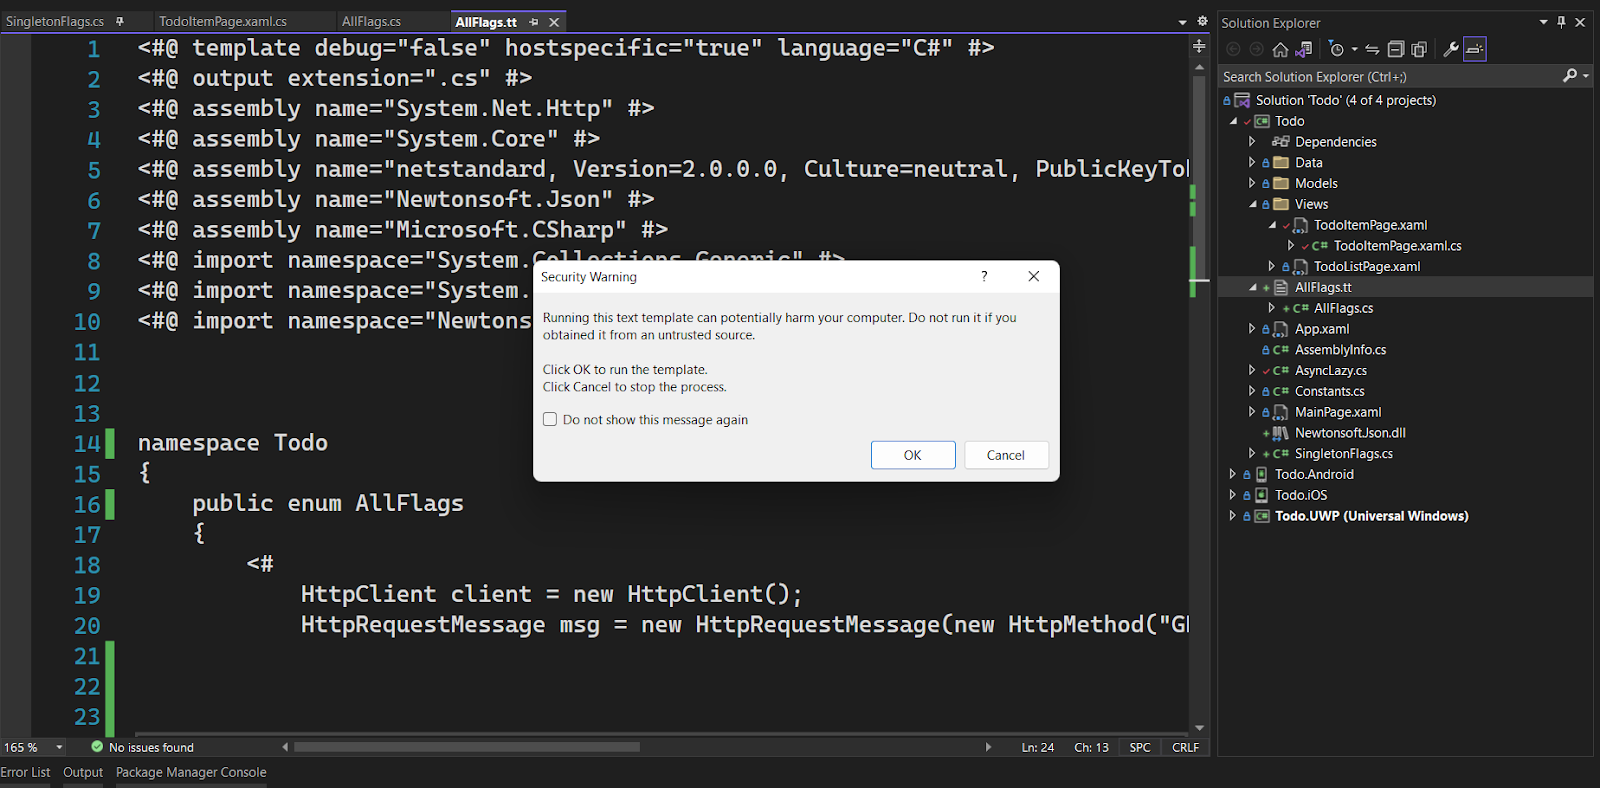
This should create a scaffolding of all the flags with their description
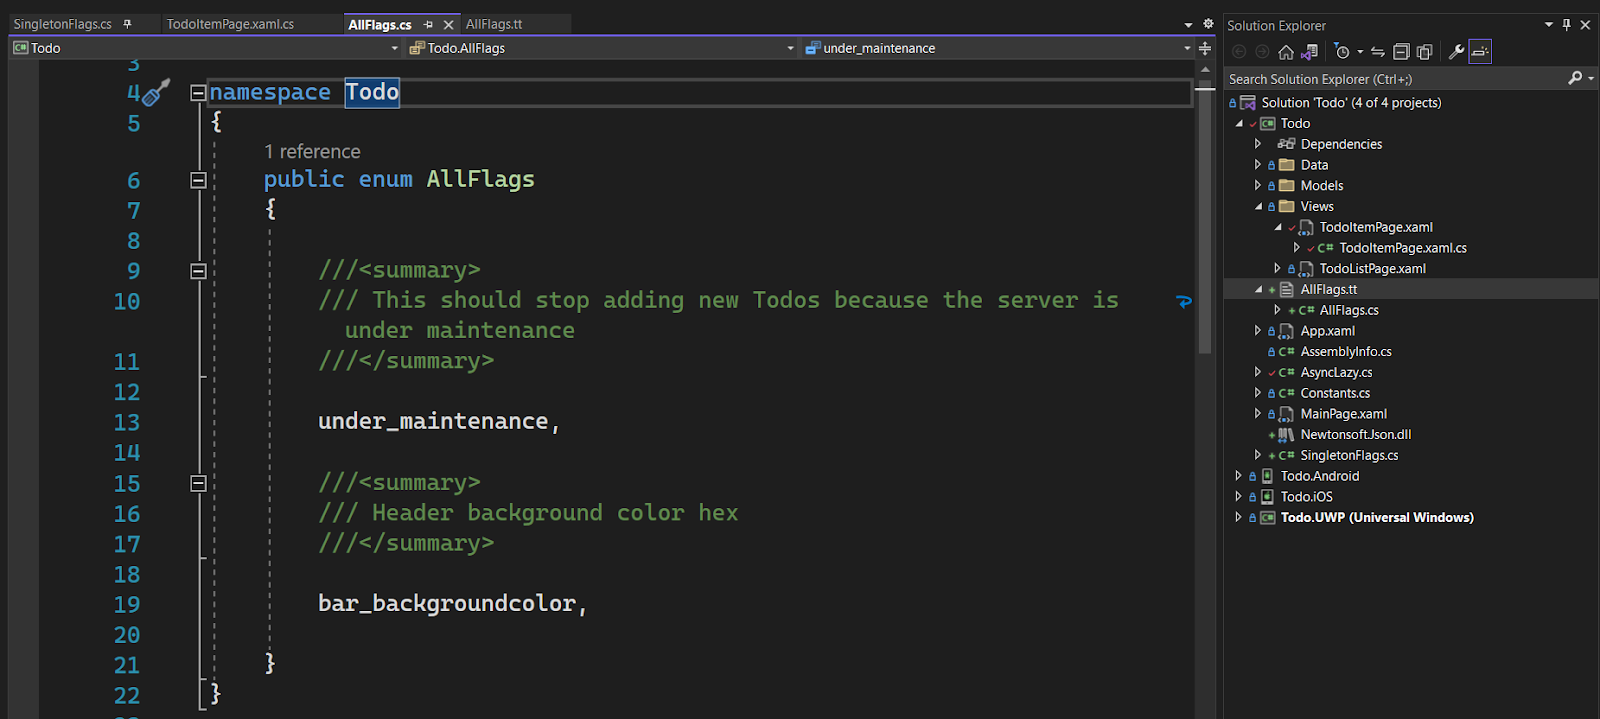
Now you can replace your await flags.IsFeatureEnabled("under_maintenance") with

Now let’s add our custom header color, open App.Xaml.cs
Replace the constructor with this:
Now run the app and you should see the new color.
The functionality we have just created will result in API requests being made to the Flagsmith API servers each time you request the flags. If network latency or optimising for minimising costs are important to
you, you can use the local evaluation functionality. Here, I'll show you how to add local evaluation into your project.
Client-Side Evaluation Mode:
If you’re using Flagsmith in your ASP.Net application, or have created a TCP/UDP server, you can choose to run Flagsmith locally, but it will still be in sync with the DB. What I mean by this is that the SDK will get all the data relevant to your environment and run the Flagsmith engine natively so as to avoid hitting the API for every client’s request, basically imagine you wanted to cache every user’s flag such that when he requests again instead of retrieving it from the DB you already know what the value is, for this you also need a way to know when the value has changed i.e., you will have to query the database once in a while. All this can be handled by Flagsmith API itself. For more details you can read about it here (https://docs.flagsmith.com/clients/overview).
To do that is pretty straight forward, first get your Server-Side API Key by clicking on Settings again,
Click on “Create Server-Side Environment Key” and provide a name for it.
Here scroll down to see the hidden API key, notice that it is to be kept secret. Click on show and copy it to clipboard, mine is coincidentally very similar to the public environment key.
Now, open up the SingletonFlags file and replace the API Key with this one and add the optional parameter of enableClientSideEvaluation, your code should look like this now:
Run the project and everything should feel faster :)
Conclusion:
Flagsmith, allowing you to release features with confidence, saves time of creating an admin panel for your CMS needs and much more. When using .Net feature flag don’t forget to apply feature flags best practices. Flagsmith offers both hosted and on-premises solutions to make it easy for you to utilize feature flags and remote config with unbeatable pricing plans.
Sign up for free and use feature flags!
P.S. If you like this ".Net feature flag" guide, you can check out our other guides:


OpenTelemetry, without the vendor lock-in: Introducing full observability for Open Source and Self-Hosted Flagsmith customers


.png)
.png)

.png)

.png)


.png)


.webp)