
How To Use Swift Feature Flags: iOS App with code examples


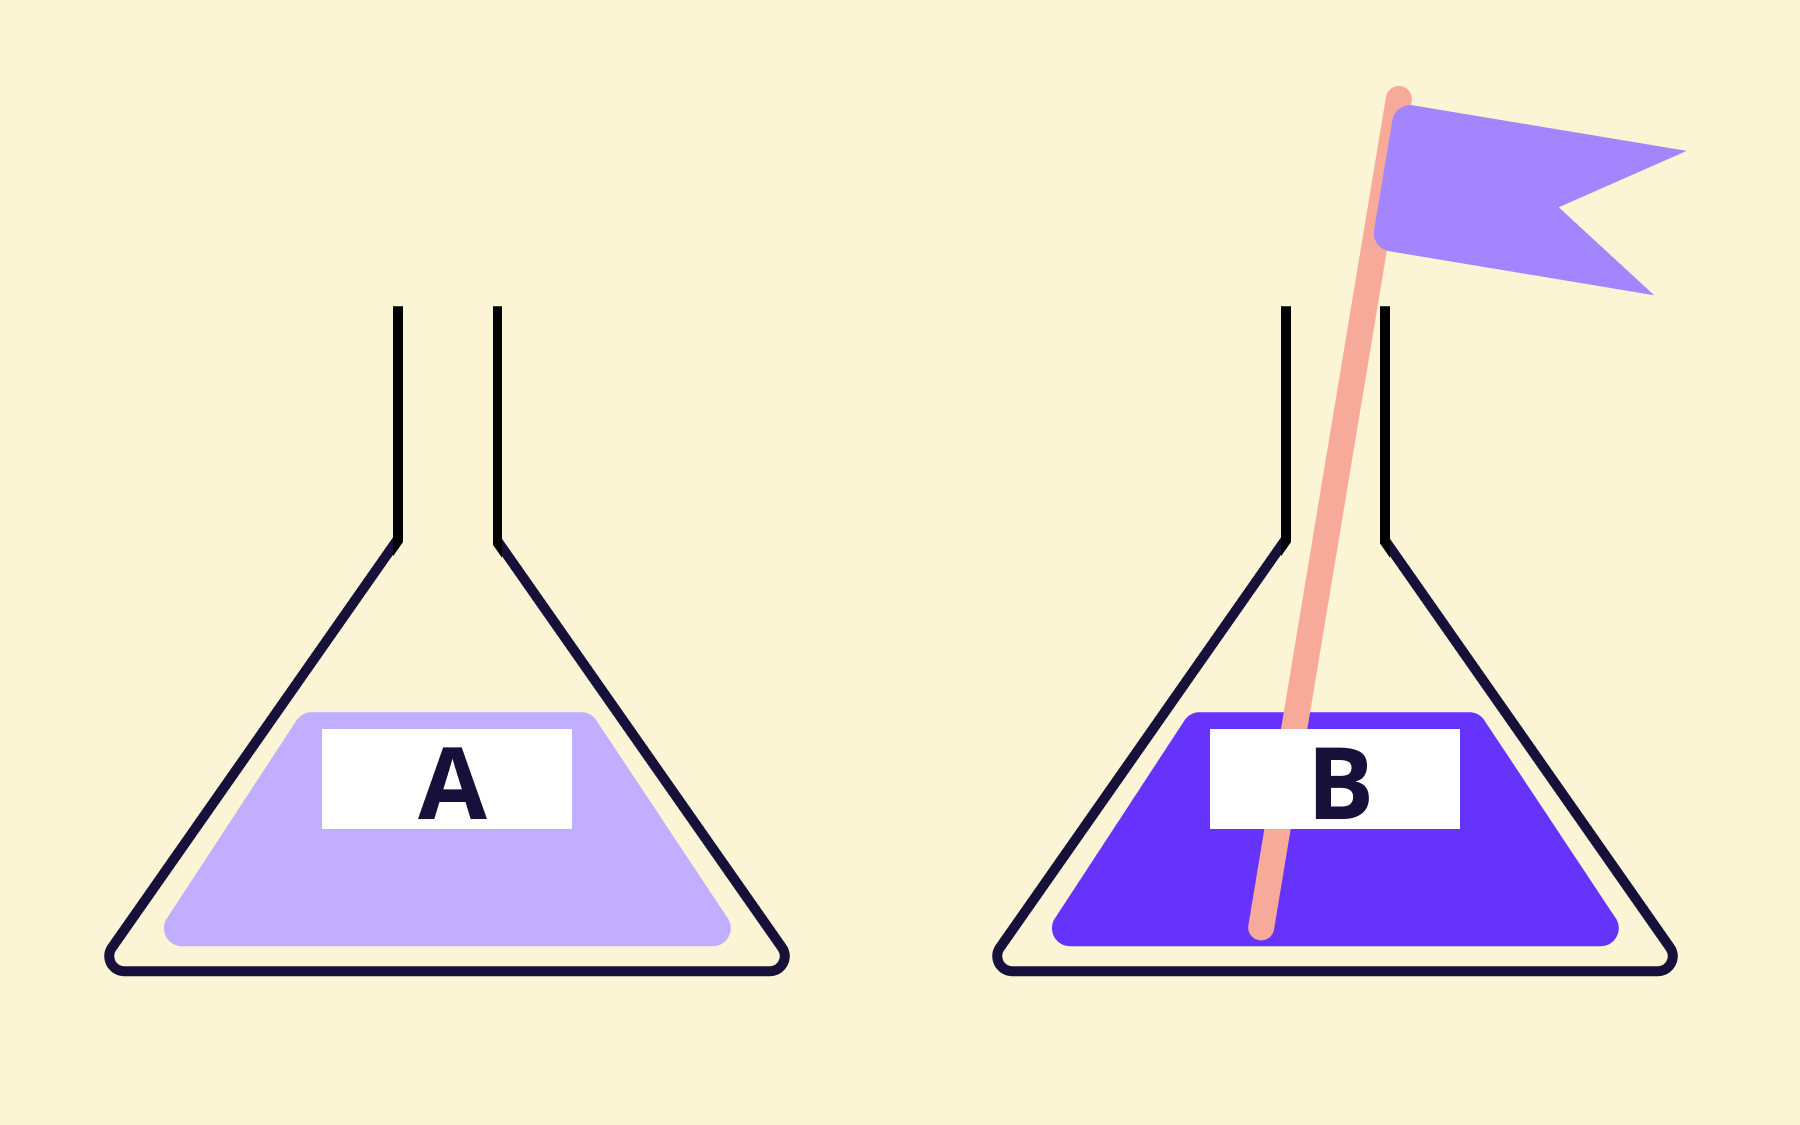
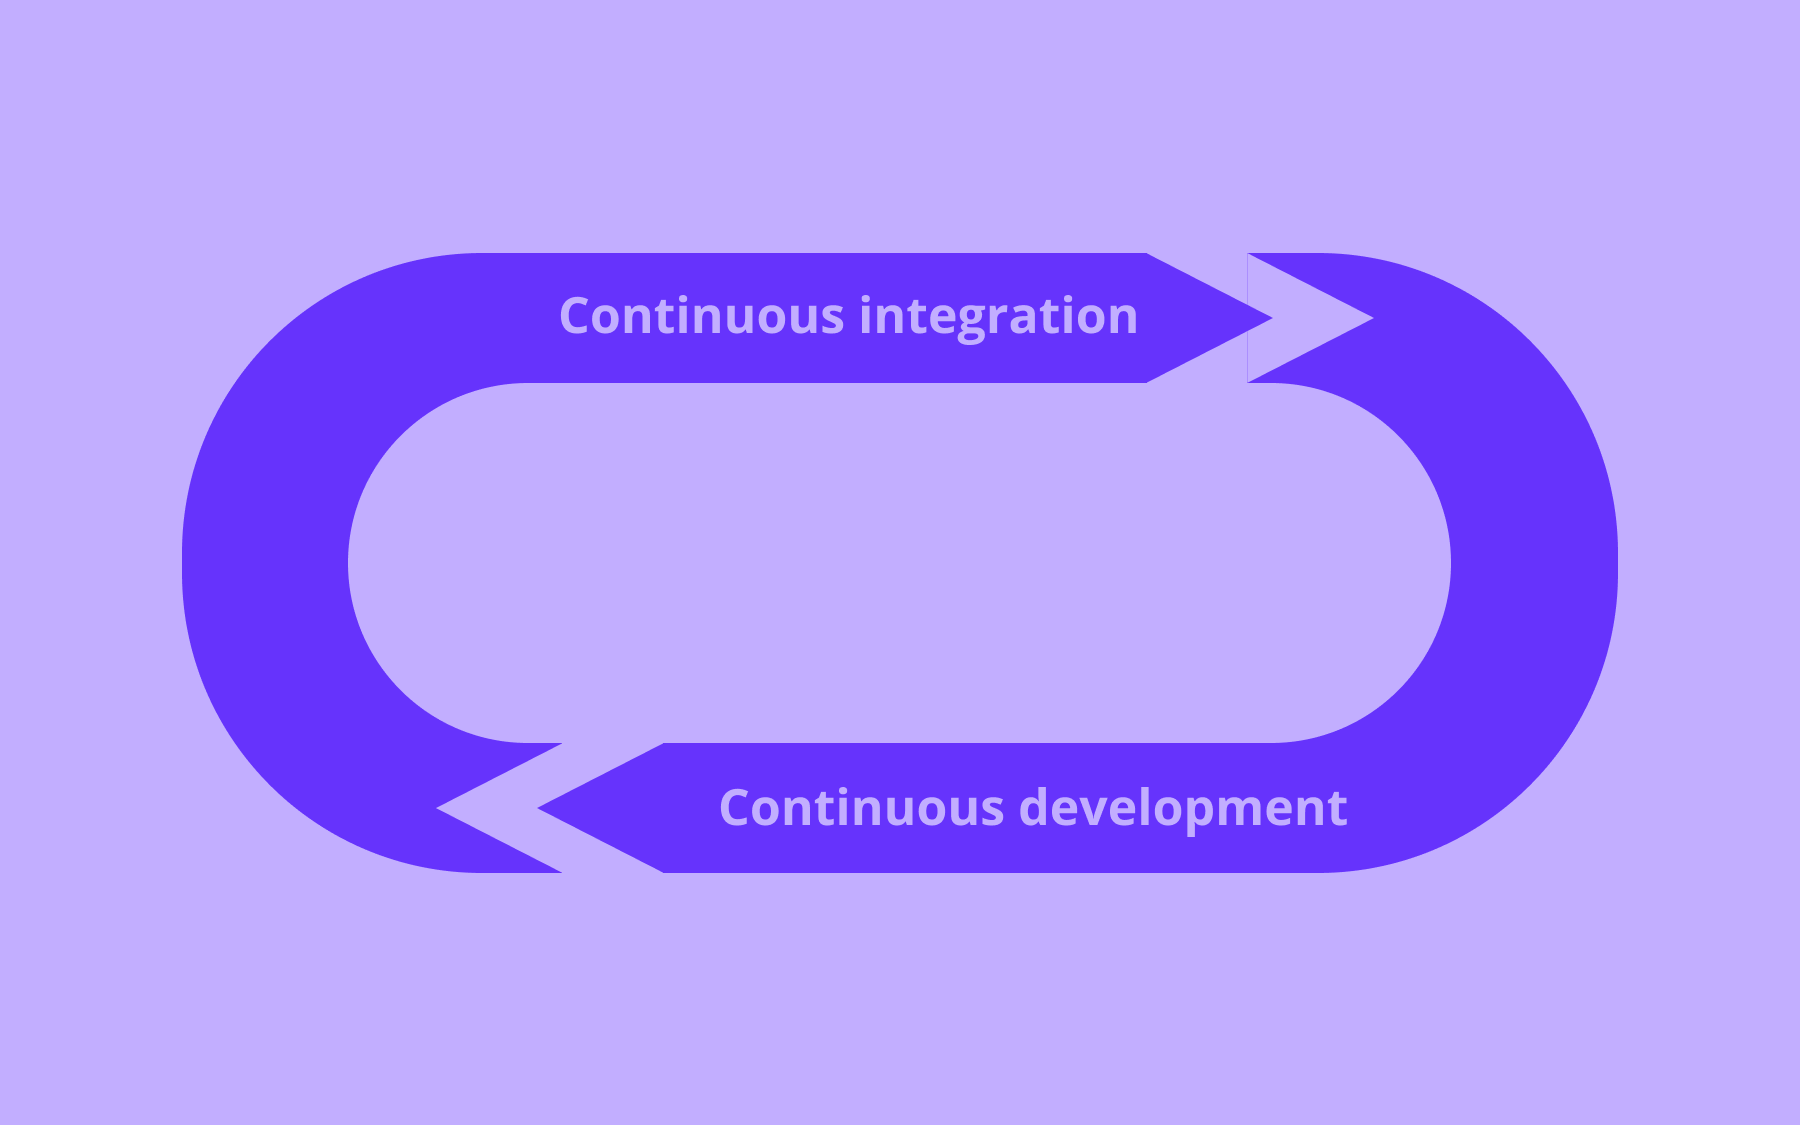
A feature flag helps you to enable or disable functionality remotely without deploying code. This is extremely helpful if you want to test and deploy new features without sending an App Store update (check top 5 feature flagging best practices) This enables you to decouple deployment from release, and you can experiment over the entire lifecycle of features.
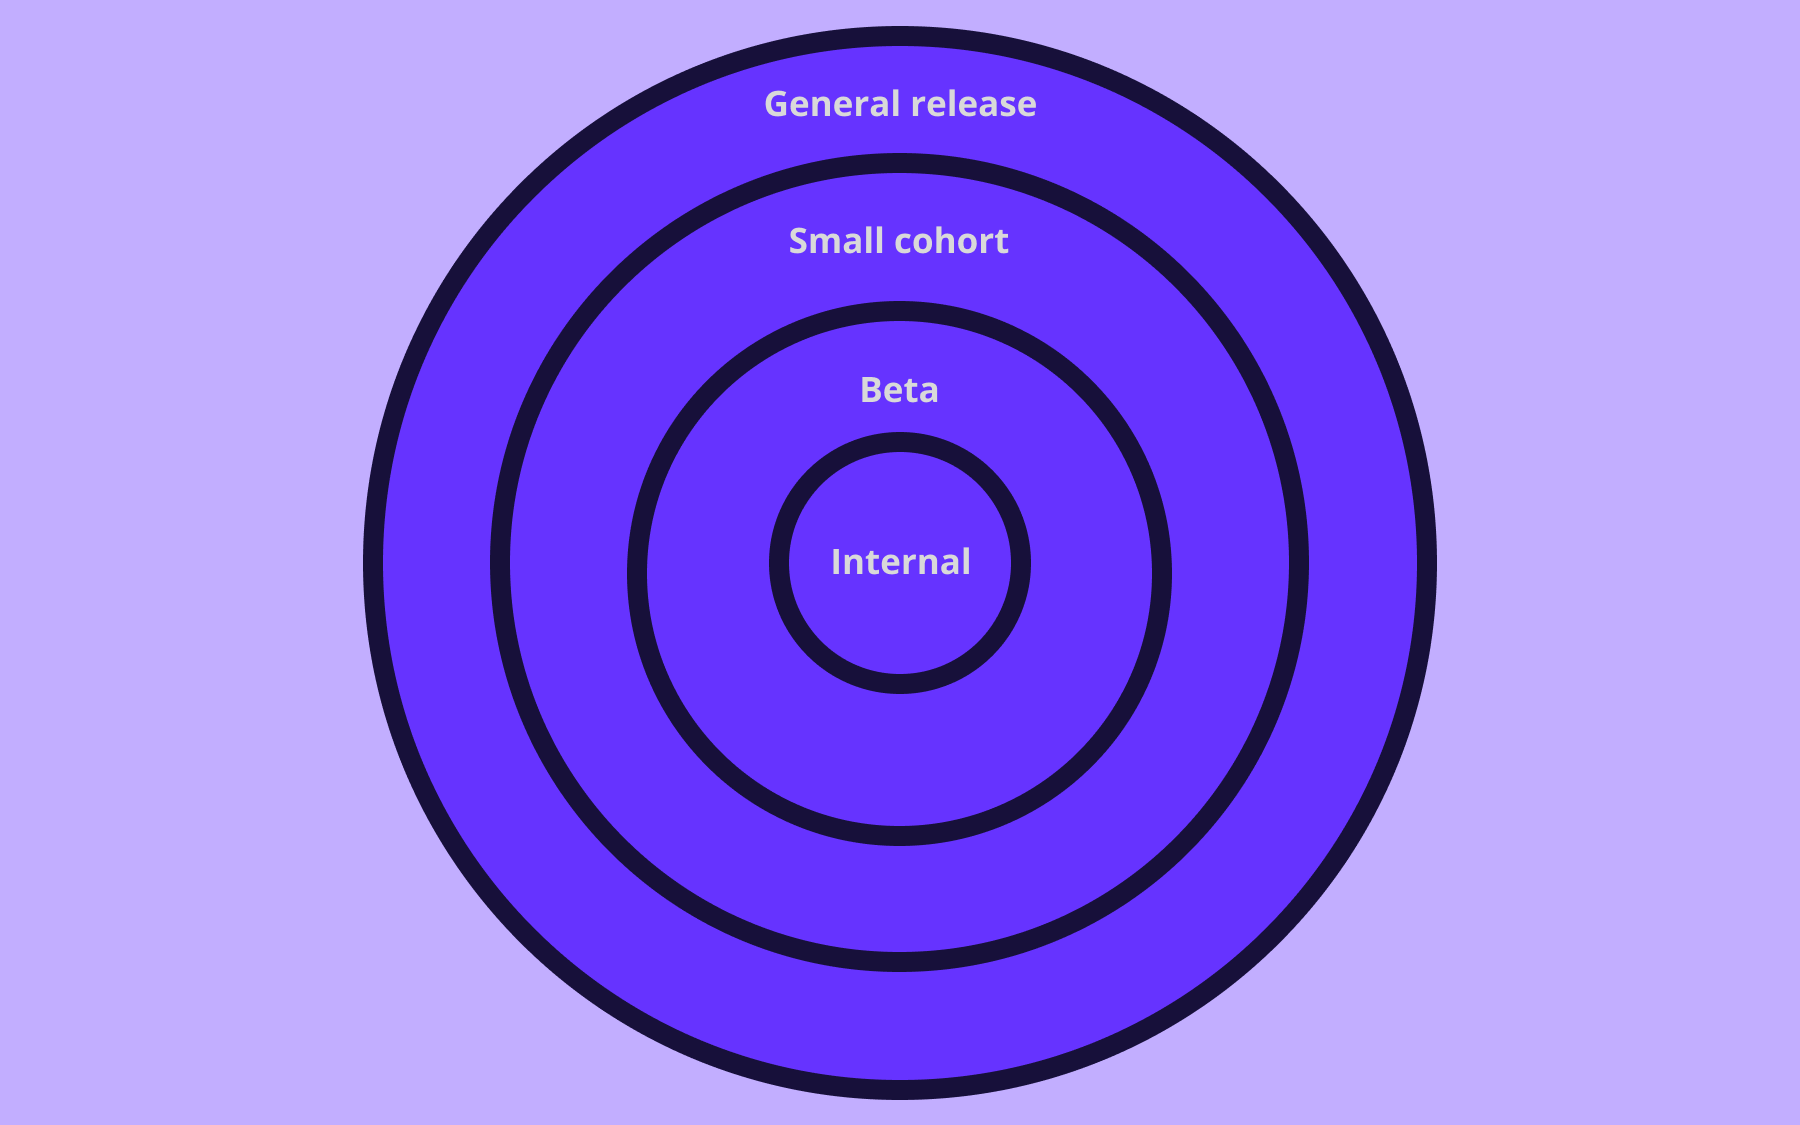
Flagsmith provides you with an all-in-one platform for developing, implementing, and managing your iOS feature flag. Whether you are moving off an in-house solution or using toggles for the first time, you will be amazed by the power and efficiency gained by using Flagsmith. You can manage feature flags by the development environment, and a segment of users or a percentage for individual users. This means quickly implementing practices like canary deployments.
This article will explore how to use the iOS feature flag. It contains the following:
- Creating Feature Flag on Flagsmith (Sing up for free and use feature flags)
- Installing the Flagsmith iOS SDK
- Working with the Flagsmith iOS SDK
- Testing the Feature Flag
- Testing Different Environments
So let’s get started!
Getting Started with iOS Feature Flag
Flagsmith has a sample project to showcase a demo feature flag, and you can download the starter project from here. This article assumes you know the basics of iOS development.
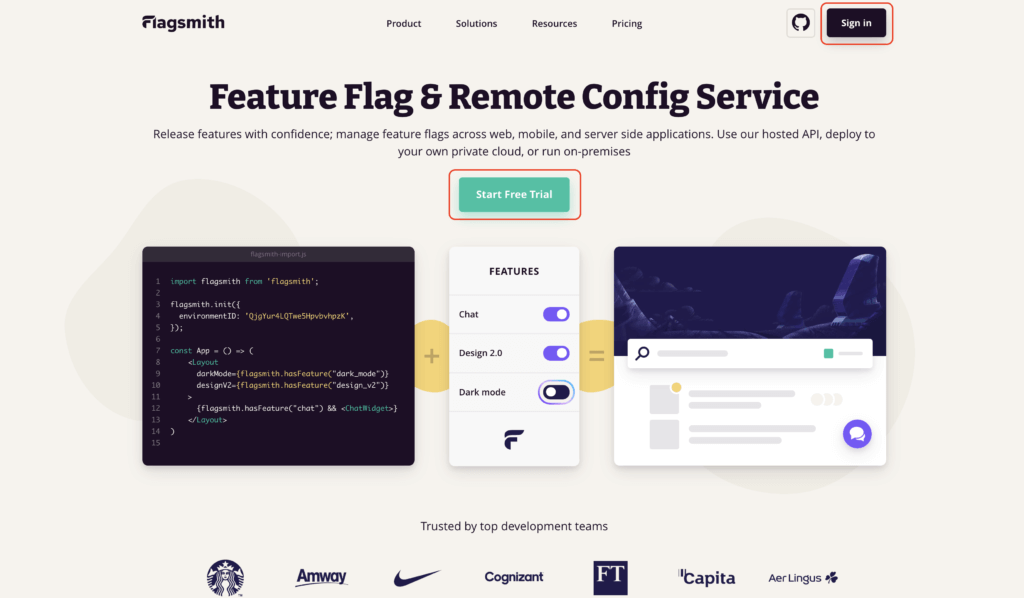
Head over to Flagsmith and click Sign In on the top right corner. If you’re new to Flagsmith, you can start on the free trial:
You can sign up via GitHub, Google or email:

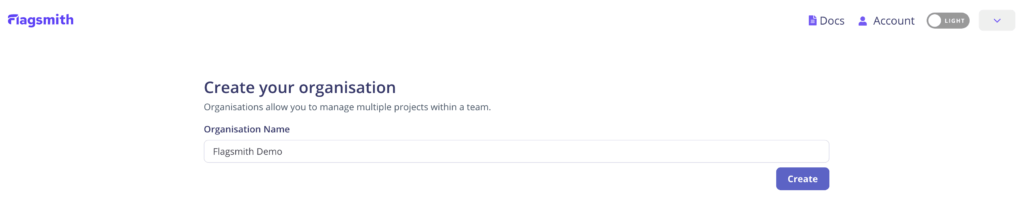
Then, create an organization to house all your projects:
After creating the organization, create the project that will contain the iOS feature flag. When you create a project, Flagsmith also generates a development and production environment for you. You can create features for your project, then enable and configure them per environment.

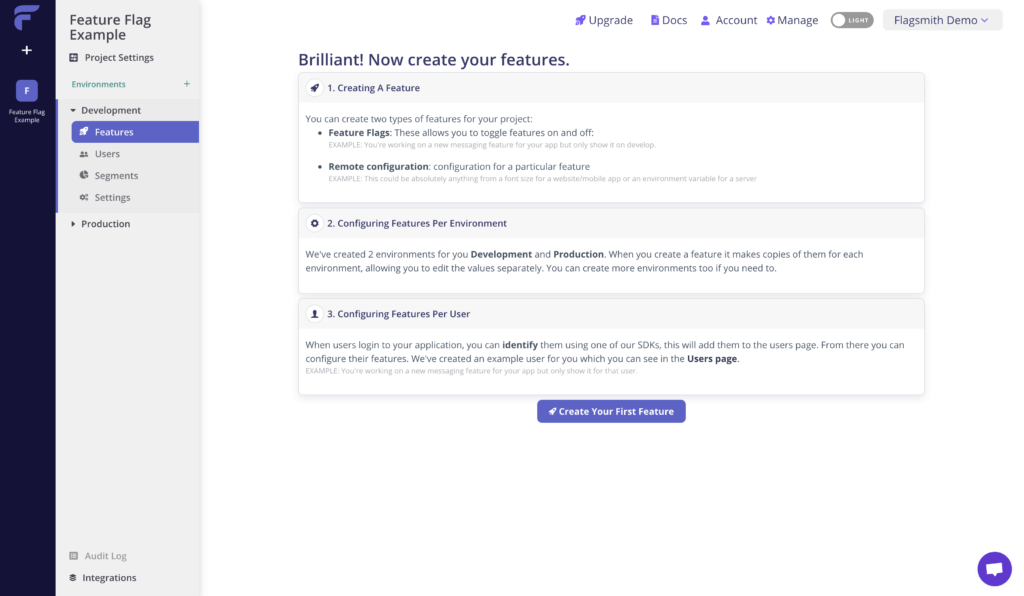
You’ll be redirected to your project’s homepage that will contain all the information about your features:
Now that you’ve set up the project, it’s time to create your first feature flag!
Creating a Feature Flag on Flagsmith
>>Sing up for free and use feature flags!
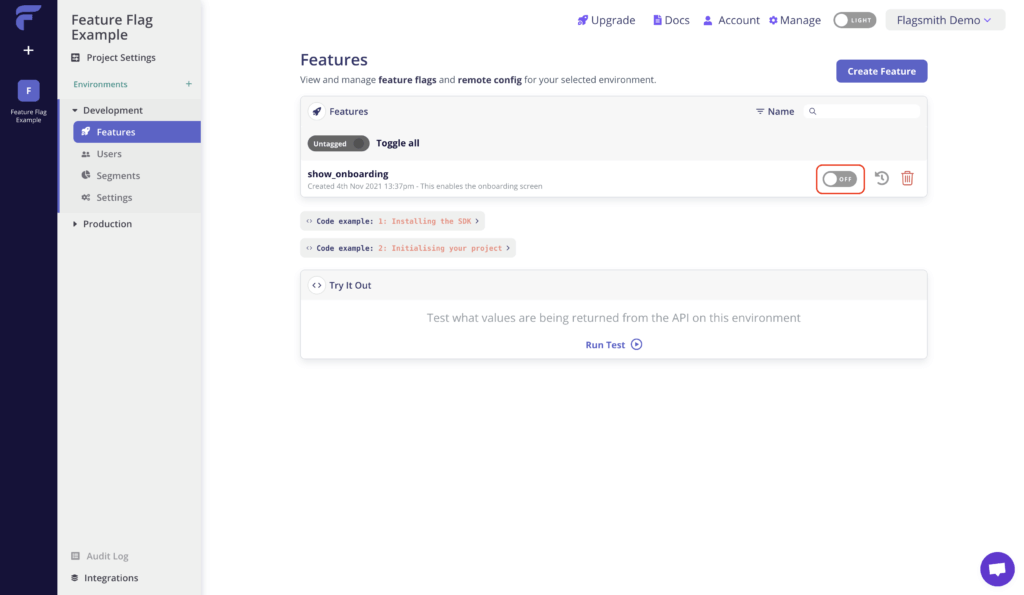
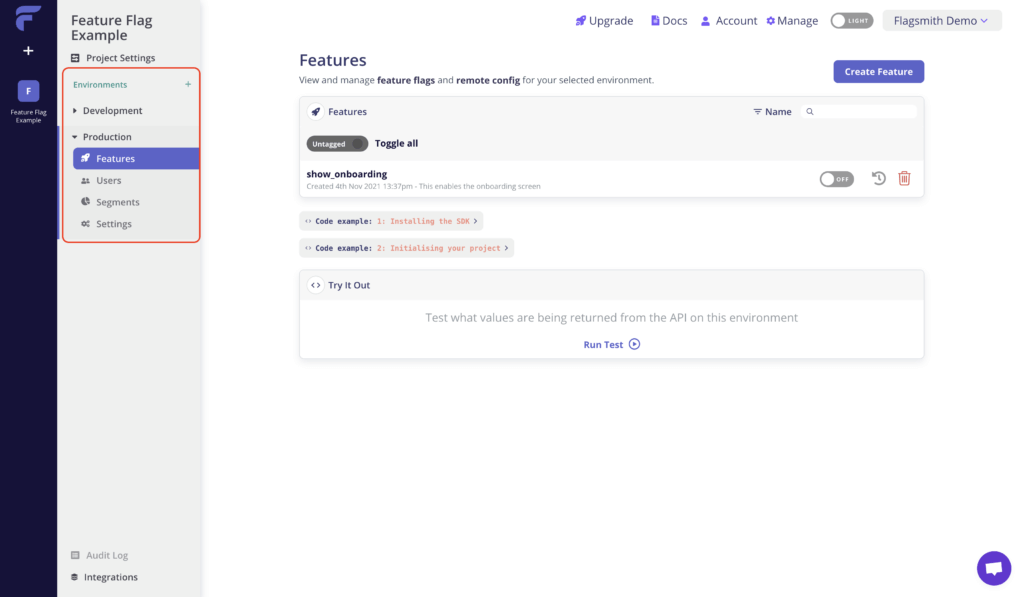
To create your first feature, head over to the Features tab from the sidebar. You'll be taken to the Features main page:

There are two types of features that you can create for your project:
- Feature Flags: This allows you to toggle features on and off. For example, a messaging feature on your app that you only want to show and test in Development.
- Remote configuration: This allows you to provide configuration for a particular feature. For example, anything from font size for a website/mobile app or an environment variable for a server.
In this article, we'll focus on adding a feature flag. Every feature comes with two default environments:
- Development
- Production
When you create a new feature, Flagsmith makes copies of it for each environment, allowing you to edit the values in the feature separately. Also, you can create more environments if you want.
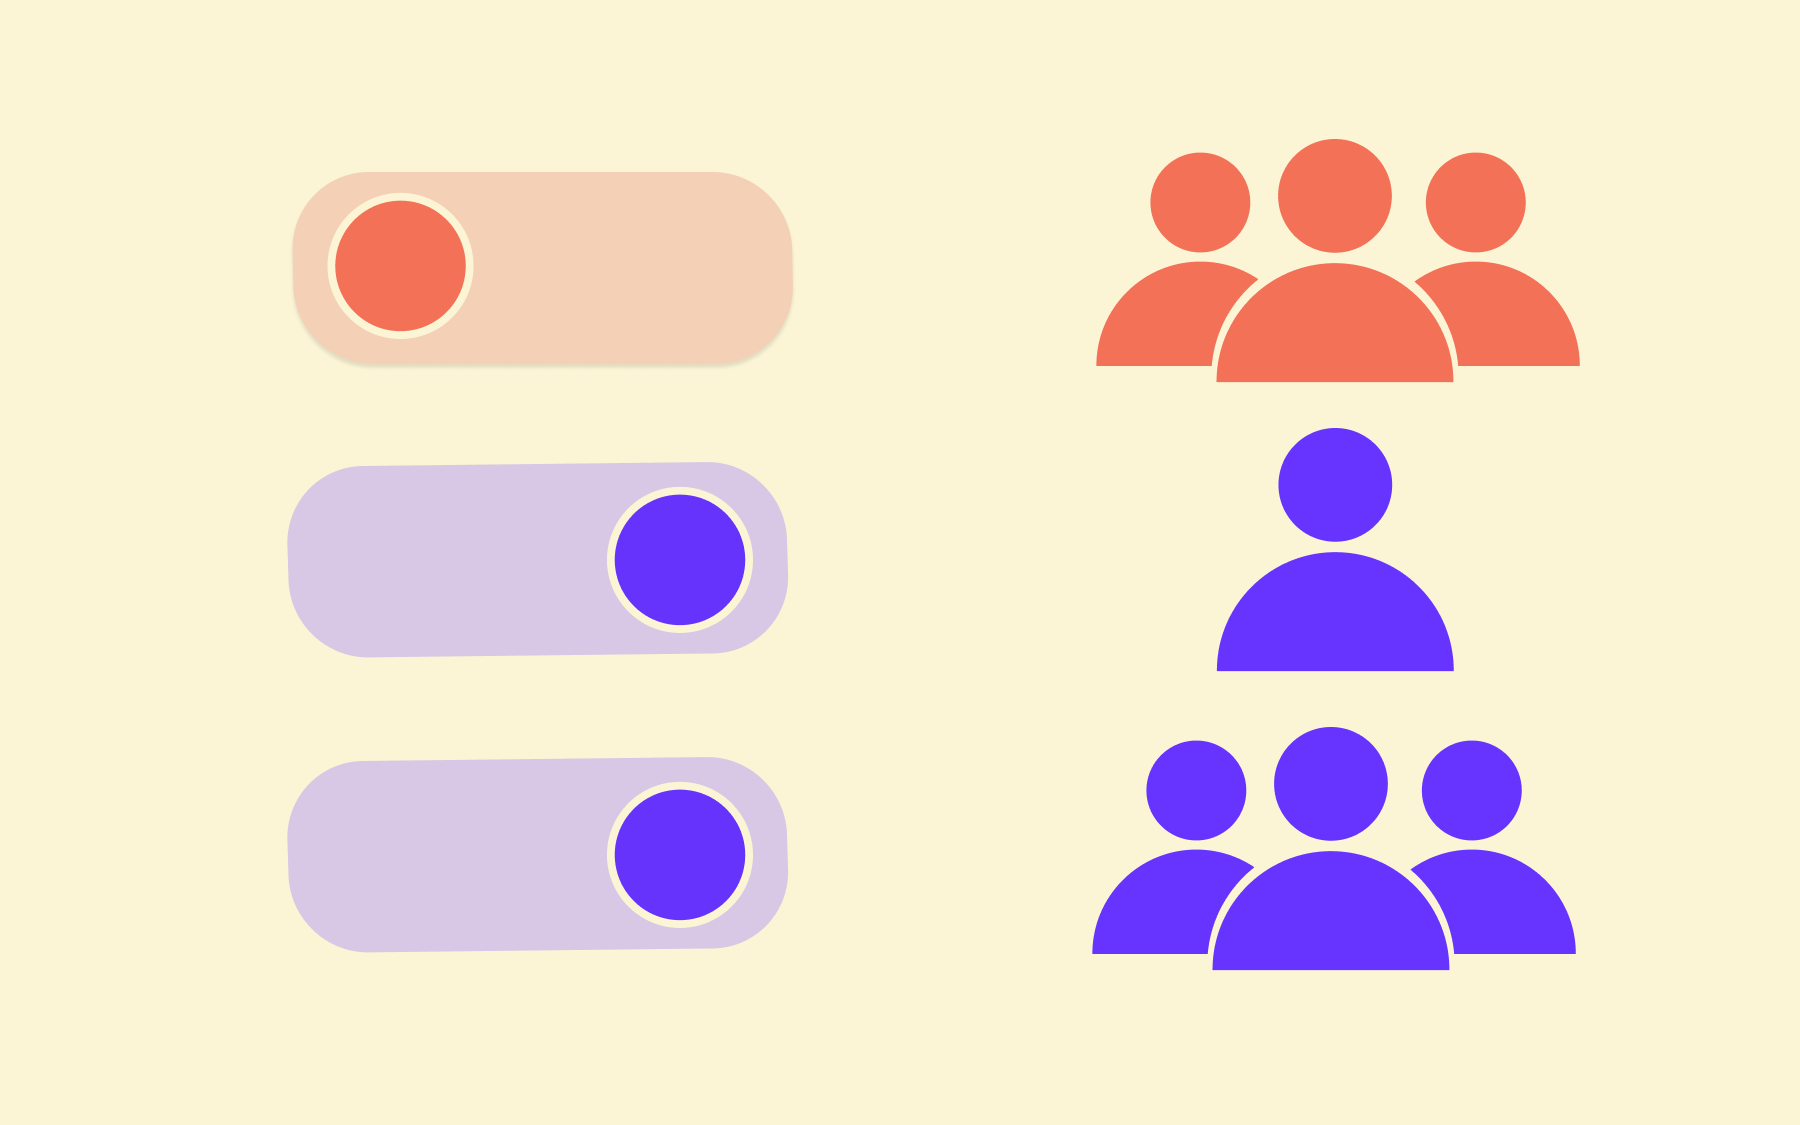
The Flagsmith SDK also provides you with the ability to identify your user when they log in to your app. It adds them to the user's page. You can then configure the features per user. For example, while working on a new messaging feature, you can show it to only a particular identified user or set of users.
On the Features page, click on the Create Your First Feature button. It slides a New Feature page, where you can fill in the details:
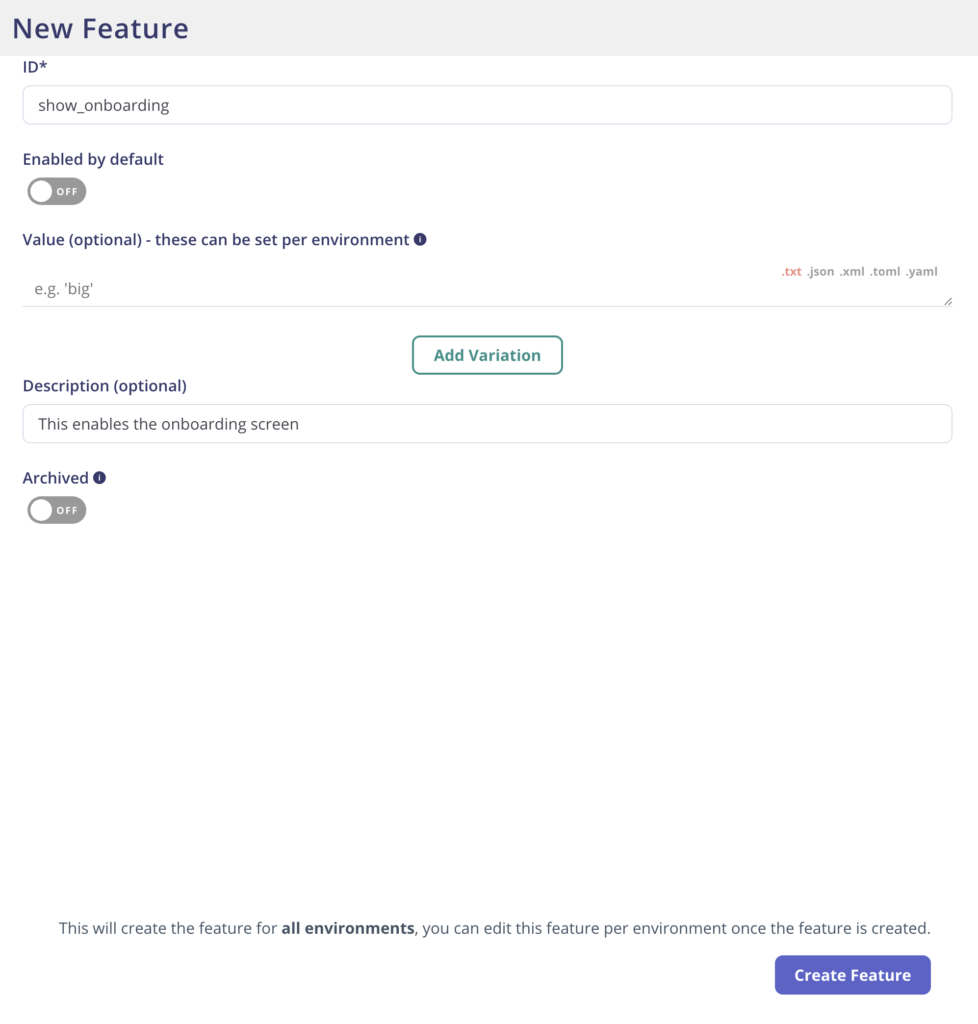
There are five options for every feature:
- ID: Name of the feature. For example, header_size.
- Enabled by default: A switch to enable the feature by default.
- Value: providing an optional value with the feature in the form of .txt, .json, .xml, toml and .yaml.
- Description: Provide an optional note that explains the feature. For example, "This determines what size the header is".
- Archived: A switch to archive a feature. It helps you filter a feature from the Flagsmith dashboard to determine the ones that are not relevant anymore.
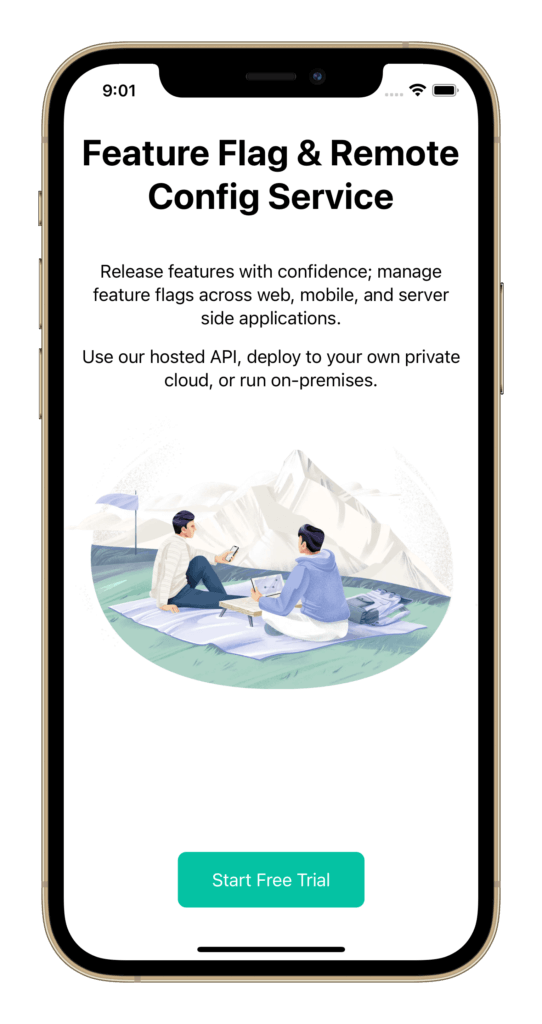
For example, you can name the ID as show_onboarding for a feature flag to enable the onboarding screen. It will be disabled by default. Let's leave the Value field empty as it will act as a feature flag with only a boolean value. Then, add the description as This enables the onboarding screen. As you're going to use it, leave the Archived option off.
Note that this creates the feature for all environments, and you can edit this feature for every environment after the feature is created.
After you're done filling in the information, click the Create Feature button. And that's it, you've created your first feature flag within a few minutes!
Installing the Flagsmith iOS SDK
Flagsmith iOS SDK can be installed via two ways:
- CocoaPods
- Swift Package Manager (SPM)
To install via CocoaPods, add the following line to your pod file:
pod 'FlagsmithClient', '~> 1.0.1'
To install via SPM, add the following to your Package.swift file:
dependencies: [
.package(url: "https://github.com/Flagsmith/flagsmith-ios-client.git", from: "1.1.1"),
]
If your project doesn’t contain a Package.swift file, go to the Menu bar in Xcode, select File, and then Add Packages. Then, in the search field, add the following URL:
https://github.com/Flagsmith/flagsmith-ios-client.git
Click Next. The current version at the time of writing is 1.1.1. Click Next again and then checkmark the SDK to add to your project’s target. Finally, click Finish to add the iOS SDK to your project.
Working with the Flagsmith iOS SDK
If you’re using AppDelegate, you can initialize the SDK in application(_:didFinishLaunchingWithOptions:) method:
If you’re using SwiftUI’s new lifecycle, it can be initialized by setting the API key inside the init() method in the App. In the sample project, it can be initialized as follows:
Now, in the FlagsmithExampleApp struct, you call this method in the init():
By setting up your API key and initializing the SDK at launch, you can fetch the feature flags from Flagsmith.
The SDK offers two methods to retrieve the flags - you can either fetch all the flags or retrieve the flag by its name.
For the former one, you then loop over the flags and save them accordingly:
In the sample project, you can create an enum for the feature flags:
Use the case to get the desired feature flag. Then, put this piece of code in the initialization method to retrieve the flags at launch:
Alternatively, you can search for feature flag by its name. It returns a Result<Bool, Error>:
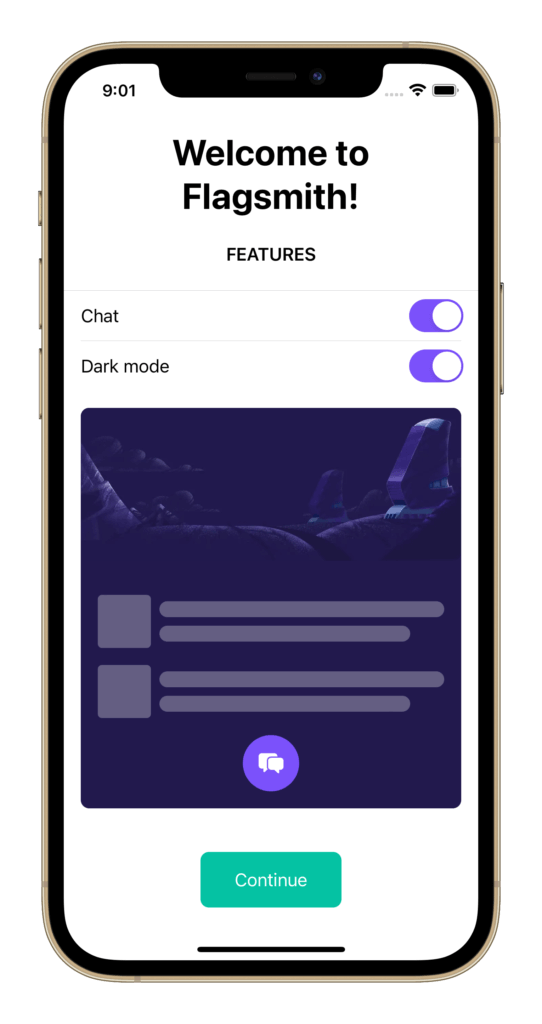
In the beginning, the value of the flag show_onboarding was set to false by default. Run the app, and you’ll see that it opens to the main screen instead of the onboarding screen.
In the next section, you’re going to test the feature by toggling the value of the feature flag and running the app accordingly.
Testing the iOS Feature Flag
Go to the Flagsmith project and toggle the feature flag show_onboarding by switching the OFF button to ON.
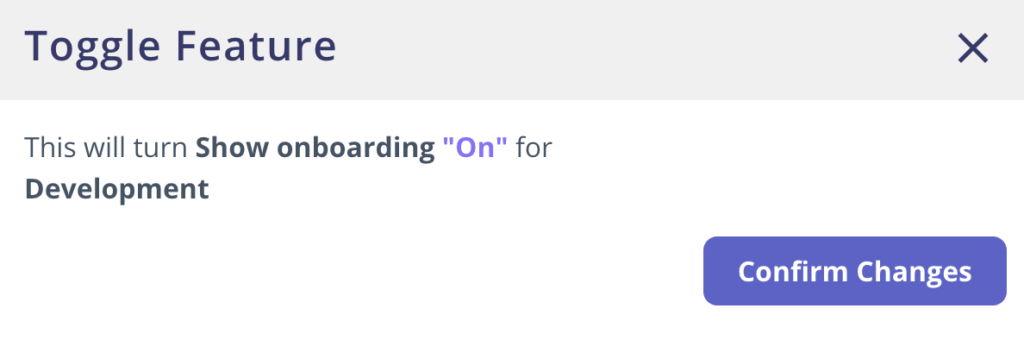
It will show an alert that will turn show onboarding “On” for Development. Click on Confirm Changes.
You’ve successfully changed the value of the feature flag.
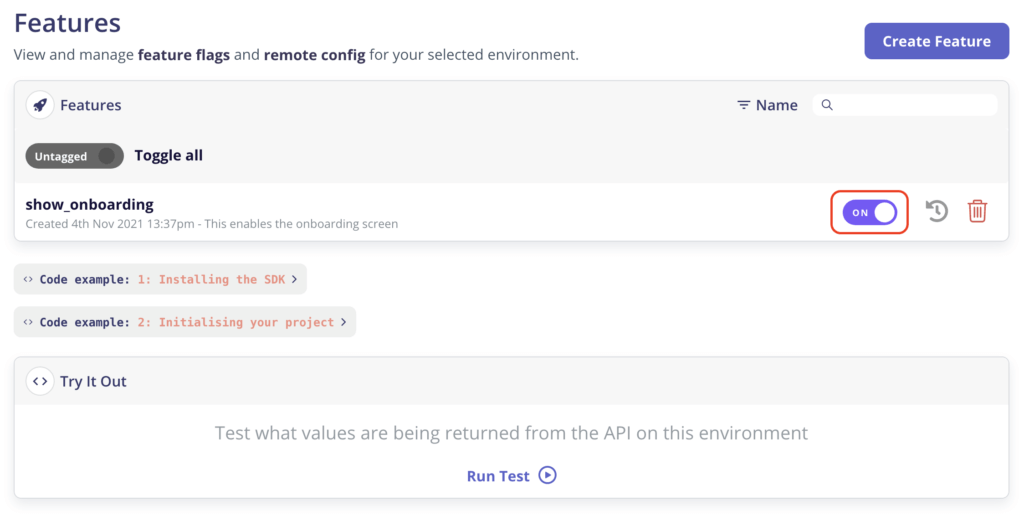
Now, head over to Xcode, and rerun the project. You’ll see that the onboarding screen is being displayed as the first screen!
Testing Different Environments
>>Sing up for free and use feature flags!
Flagsmith also provides you with different environments per feature. You can find the different environment on the main page of the project:
Each environment has its own specific API key. So, from the sidebar, select Settings under the Production heading and copy the API key from here. show_onboarding is disabled by default in Production, while in the previous section, you enabled it in Development.
To differentiate between the two, go back to Xcode and FlagsmithExampleApp.swift. Replace the following code where you set the API key with:
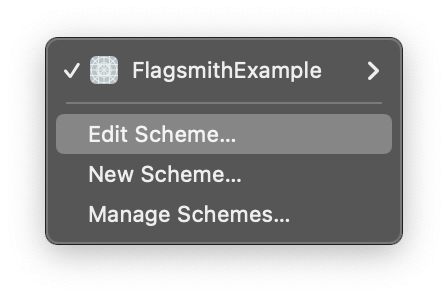
Now, click on the current scheme and then edit the scheme:
From the sidebar, select Run. Under the Info tab, change the build configuration to Release:
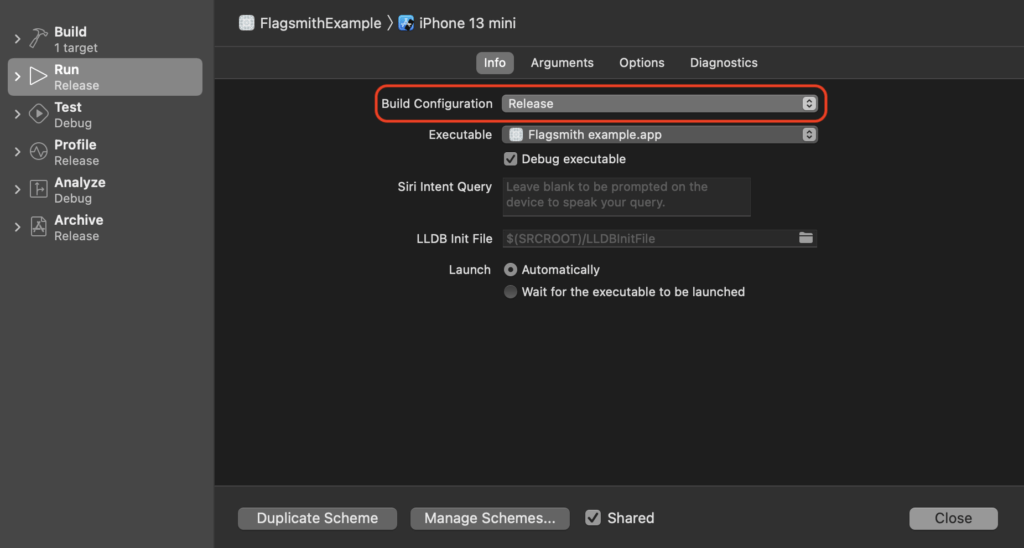
Run the app, and you’ll see that the onboarding is disabled!
If you run the app in Debug configuration, you will see the onboarding screen again. You can create a custom build configuration on Xcode as well. For example, you can create an Environment Test Flight in Flagsmith and create a similar one in Xcode.
Conclusion
You can download the final project from here. Using Flagsmith, you can release features with confidence and manage feature flags across web, mobile, and server-side applications.
This article helps you get started with using Feature Flags in your iOS app so that you have more control over your features without worrying about sending updates. You can use the best open-source feature flag for your next Xcode project. Flagsmith also has on-premises and cloud-hosted solutions with great pricing plans.
>>Sing up for free and use feature flags!
Flagsmith also offers a more robust feature called Remote Configuration, where you can send the values over the feature and retrieve them in your app. You can learn more about Remote Config in this post.
Do let us know if you’ve any suggestions/feedback!


OpenTelemetry, without the vendor lock-in: Introducing full observability for Open Source and Self-Hosted Flagsmith customers


.png)
.png)

.png)

.png)


.png)


.webp)