
Node.js Feature Flags: a Step-by-Step Implementation Guide with an Express.js Example

Feature flags help engineers, developers and product teams turn a feature on or off without the need to deploy any code. Node.js feature flags also enable the same. In this guide, we will go through a practical example in a Node.js Express application to show and hide some footer icons depending on a Flagsmith feature flag.
Before we get started though, let’s quickly cover what Node.js and feature flags are.
What is Node.js?
Node.js is an open-source, cross-platform runtime environment that allows developers and engineers to execute JavaScript code server-side, rather than in a browser.
Node.js enables efficient, scalable, and event-driven programming, making it well-suited for handling side-by-side operations and real-time applications. Node.js is widely used for web development, API services, and microservices, and it has a vast ecosystem of libraries and frameworks available through npm (Node Package Manager).
What are feature flags?
Feature flags, also known as feature toggles, are a way for developers to turn features in their software on or off without having to deploy new code.
Think of them as switches built into an application that let you control what users see or experience. This allows teams to roll out new features gradually, test them with specific user groups, or easily disable a feature if something goes wrong—without needing a full redeploy.
Feature flags provide flexibility in development, making it easier to experiment, manage risks, and respond quickly to issues, all while keeping things running smoothly for most users. They're like a safety net and a testing tool wrapped into one.
By integrating feature flagging software into a Node.js application, developers can enable or disable specific features dynamically based on user segments, environments (like development, staging, or production), geographic locations, and more.
Prerequisites
Before jumping to the code, below are some of the prerequisites for getting started with flags:
- A Flagsmith account will be used to create a feature flag so register now if you haven’t already, it’s free!
- Prior general knowledge of Node.js and Express.js
- Any knowledge of Git and GitHub would be really helpful
- You will need a GitHub account to clone the demo repository and deploy code to Railway.app
- [Optional] You may want to check out our feature flagging best practices article either before, or after you read this guide
Example: Express single-page application for Node.js feature flags
Time to dive into the code!
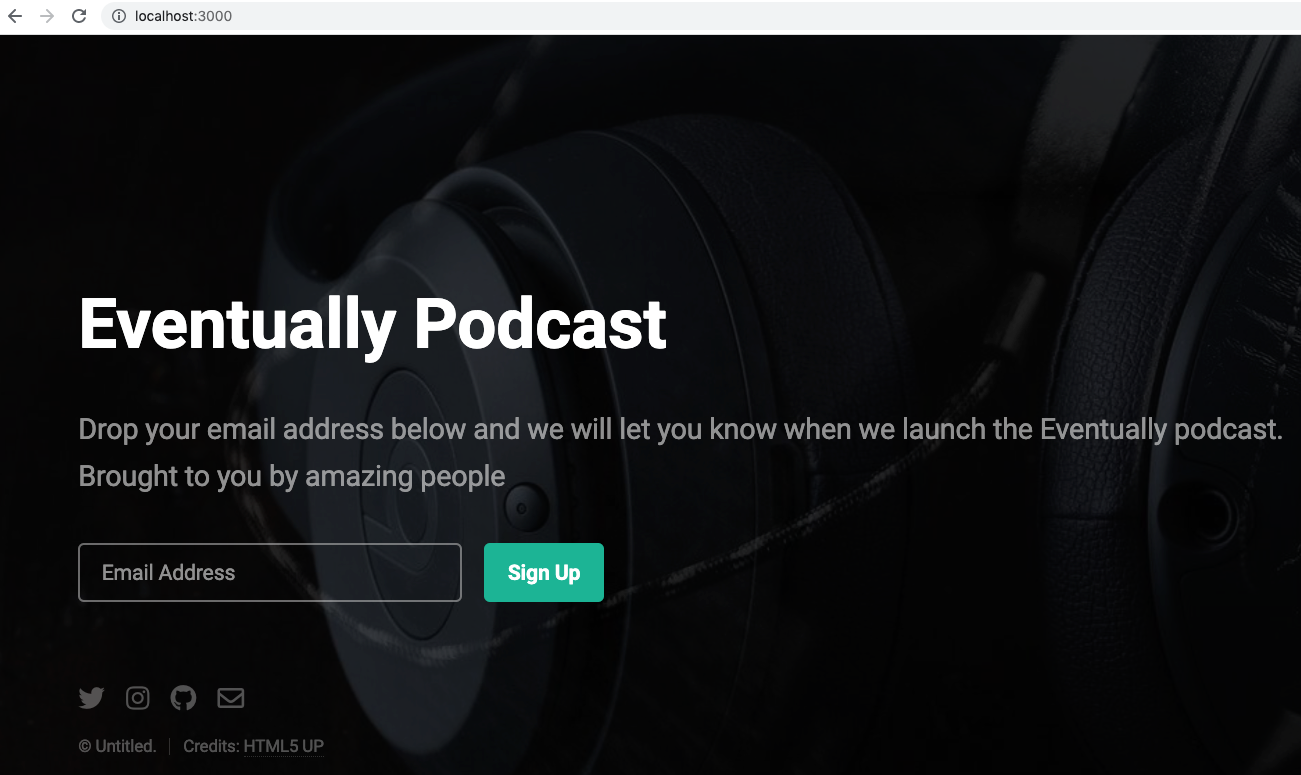
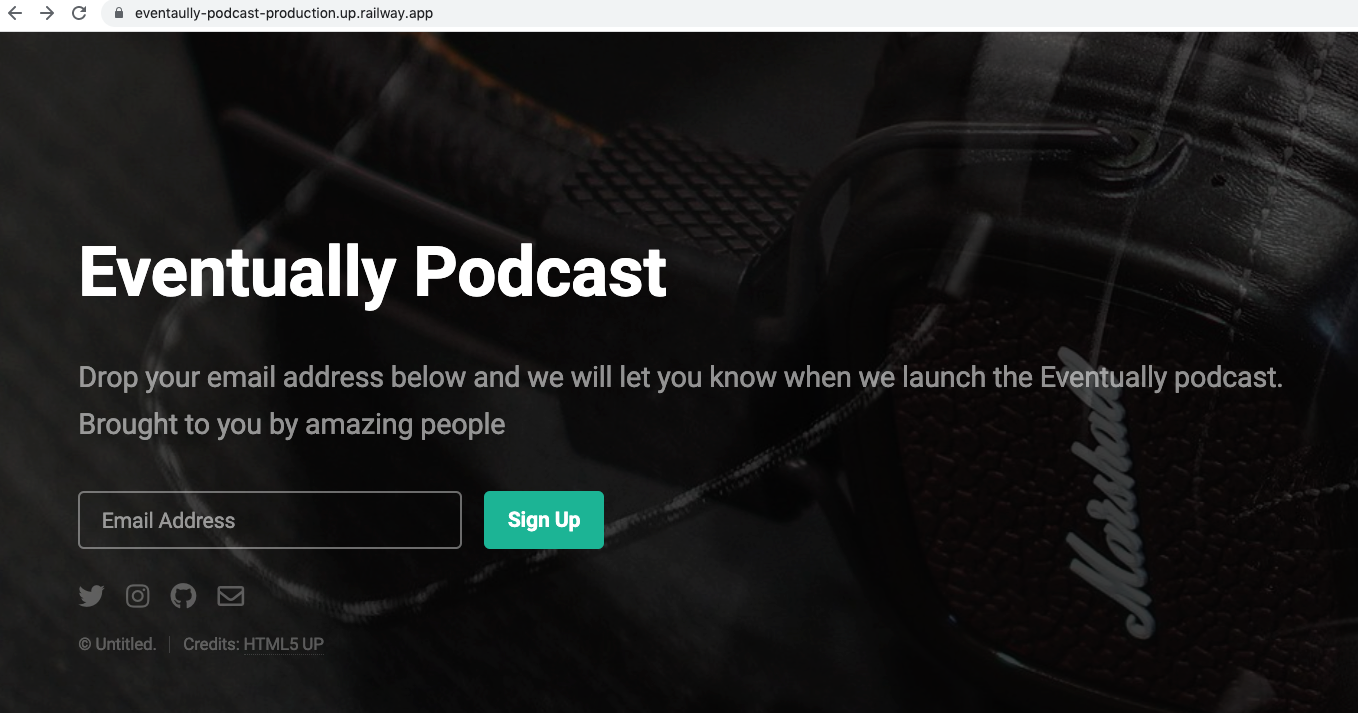
For this hands-on guide, we will use a pre-built Express application. This Node.js application was built as a demo to build a single-page website. This step-by-step tutorial explains how to build a single-page website with Express.js and Pug as the templating library. The demo website looks like the below:

It is a mock “Coming Soon” page with a form to collect email addresses (though it doesn’t really collect the email addresses at this point.)
The goal here is to show/hide the four icons; Twitter, Instagram, GitHub, and Email, using a feature flag. We will create the feature flag on Flagsmith and use Node.js to show or hide those icons depending on whether the feature flag is enabled or not. Hypothetically we want the user to focus on giving us their email address vs. being diverted to the social channels. But if we change our minds we want to be able to get the icons in the footer back without the need to deploy any code.
After doing the code change we will deploy the application to Railway.app free plan. In the following section, we will set up the feature flag on Flagsmith.
Set Up Feature Flags in Flagsmith
To create a feature flag for toggling the visibility of the social icons on the footer, we will first need to create a project after logging into Flagsmith. This can be done by clicking the “Create Project” button found at the top right side of the Projects page as seen below:

I have named id `eventually-podcast` but it is up to you to name it as you like. The project page looks like the following after the project is successfully created:
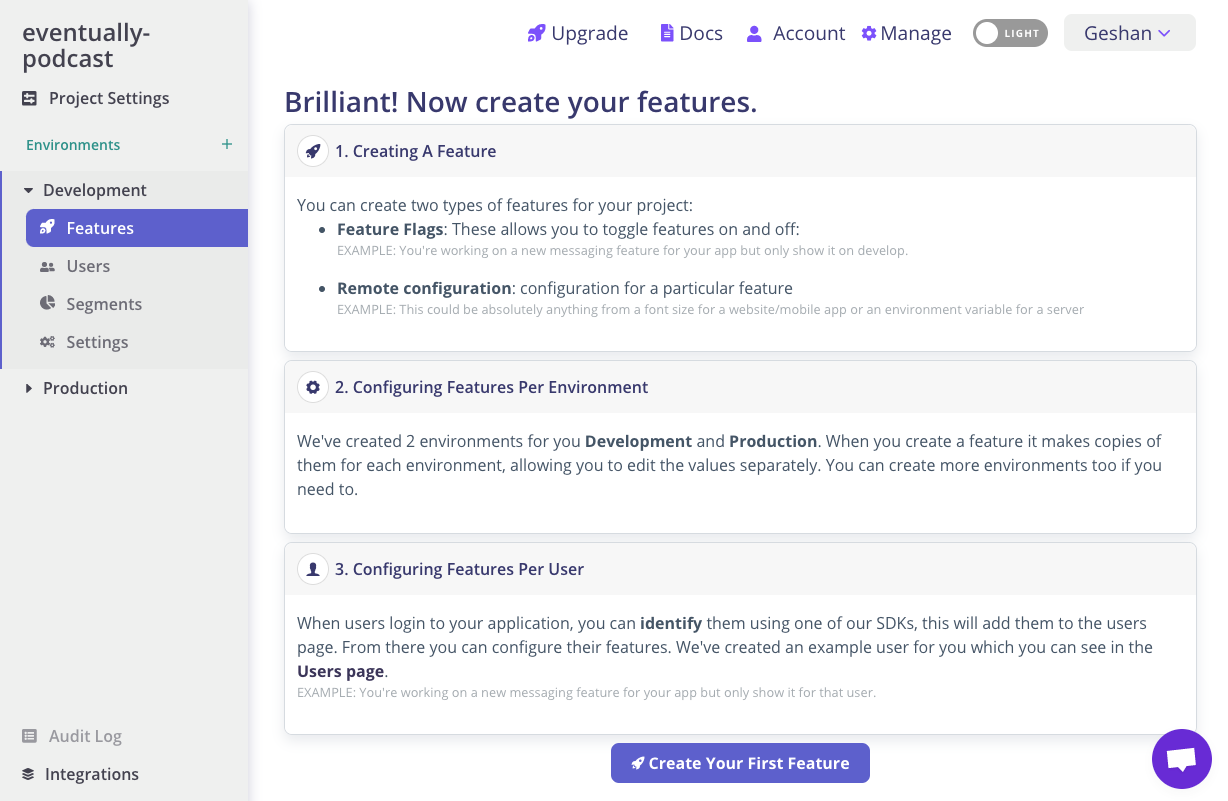
Now we will create a new feature flag by hitting the “Create Your First Feature” button and filling in the details as follows:
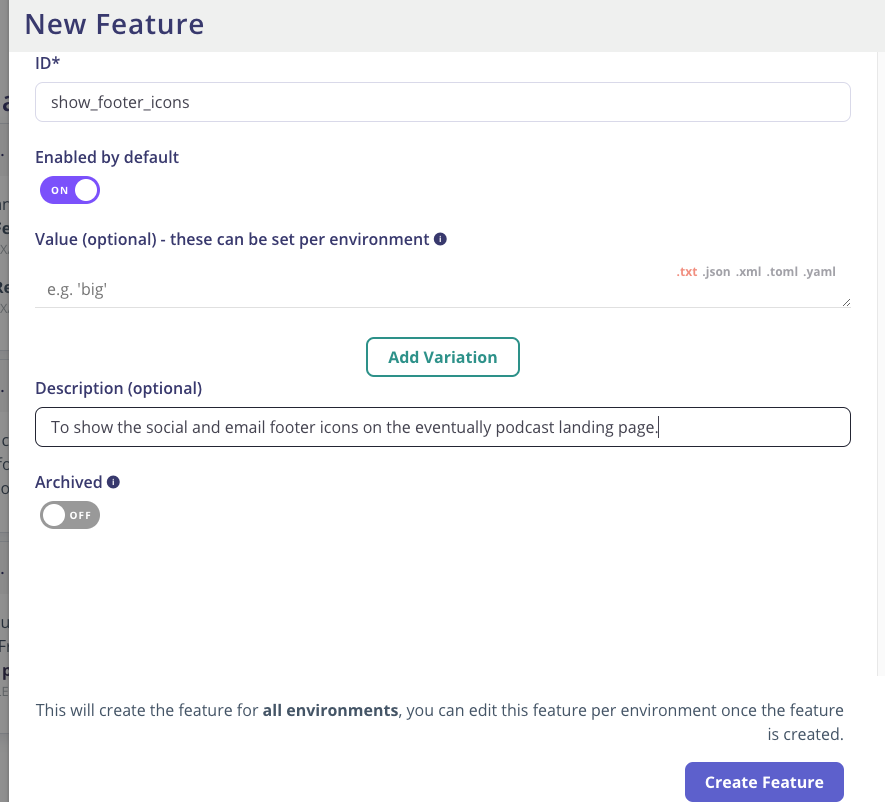
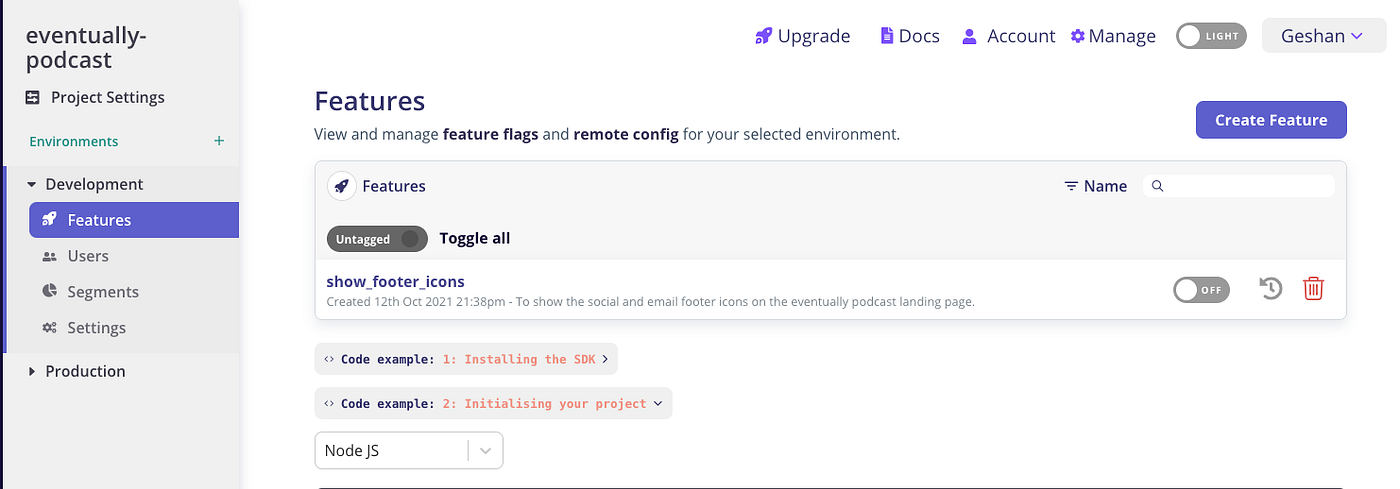
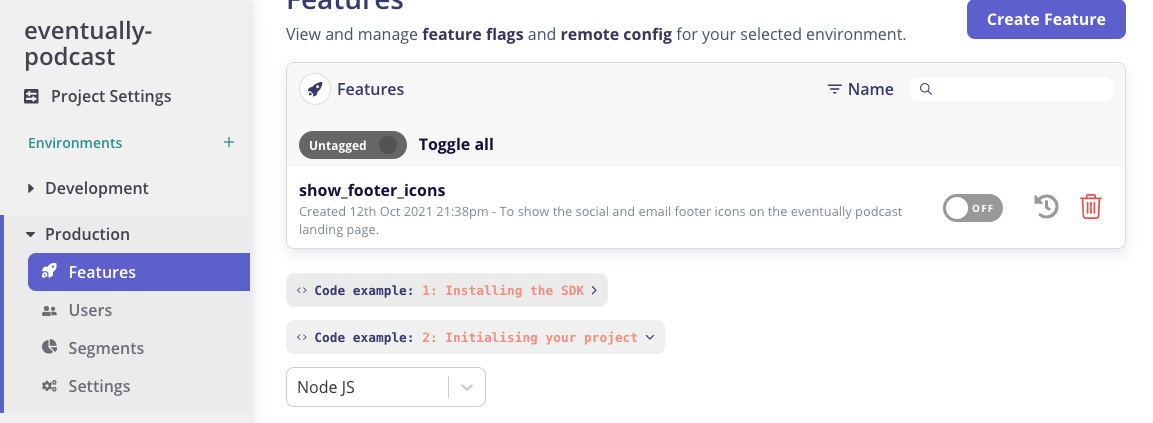
So, we will create our first feature flag named `show_footer_icons` which is enabled by default, and has no value, and we have added a description to help us know in the future what it is used for. It will look like the following when the feature flag is created:
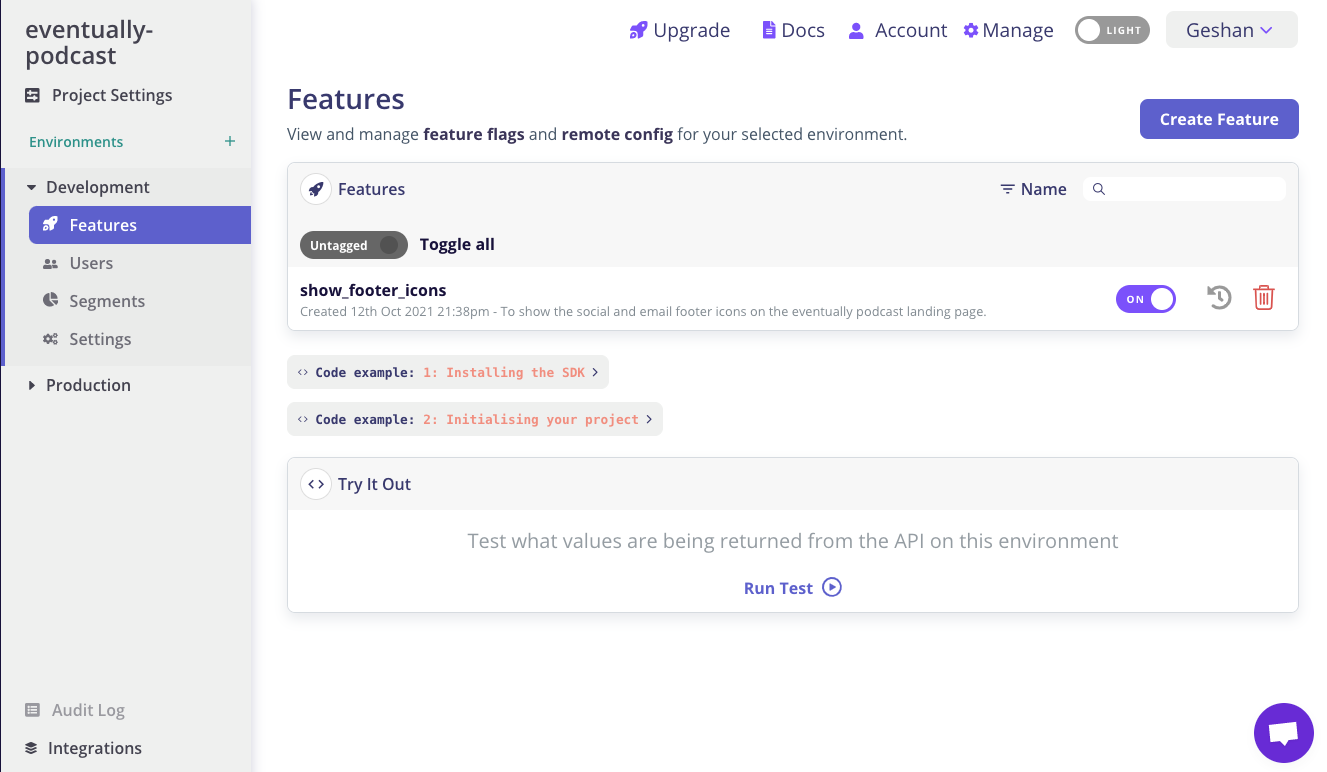
Note: We have two environments - development and production. We will make use of them later.
In the next section, we will clone (or fork) the open-source Node.js express application and add Flagsmith Node.js SDK to it to use the feature flag we just created as part of this Node.js feature flags tutorial.
Install Flagsmith Node.js Client
To proceed further with this tutorial you can clone the open-source repository that has the “Eventually Podcast” landing page running. To do that we will need to run the following command:
Then we will go into the directory, install the NPM dependencies and run the app to test by running:
It will start the server on the master branch and if you go to http://localhost:3000 in your favorite browser you will see something like the below:
Consequently, you can stop the server and install two new NPM packages with:
It will result in something like below:
So at this point, we have installed flagsmith-nodejs (the Flagsmith Node.js SDK), and node-cache NPM modules. The Flagsmith Node.js SDK is used to communicate with the Flagsmith API from our Node.js application. The node-cache NPM module is installed to keep the communication smoother with fewer calls to the Flagsmith API. In the next section, we will see how we can integrate the feature flag we have created with our code.
Use Flagsmith Node.js Client with Some Caching
To show or hide the social icons on the footer of our mock podcast’s landing page after installing the needed NPM modules, we will change the index.json the root of the project to look like below:
The main changes here are that we have required the Flagsmith SDK and the node cache module. Just above the `app.get` route definition line, we are initializing the Flagsmith SDK with the environment ID. To make it more efficient we are also using Node cache. The cache is set to 10 seconds, meaning it will reuse the values from the Flagsmith API for 10 seconds before making another call.
The main part here is the environmentID that we can get from the `Initialising your project` section of the feature flag we created in the previous step as seen below:

For testing and development, we will use the Development environment. We will use the Production environment when we deploy our application. The environment ID is pulled in from the process.env. If the FLAGSMITH_ENVIRONMENT_ID is not available as an environment variable then the given string is used. We have a fallback string in place so that even if the environment ID is not set that application will still work.
The other change is in the route definition, where we initialize a variable named showFooterIcons as false. So if we hit an issue while contacting Flagsmith we will not show the footer icons. Then we try to get if the feature is available on Flasmith with:
If the feature is enabled it will return a true else it will be false, this is wrapped in a try catch to make it more resilient. After that the `showFooterIcons` variable is passed on to the “index” view in the res.render call.
The view file located at views/index.pug looks like the following to make the rendering of the social icon in the footer dynamic as follows:
The main change here is in the `footer#footer` section, where the `ul.icon` list is only rendered if the `showFooterIcons` is true which depends on the feature flag we created in the previous step being enabled. All the above code changes are available as a pull request for your reference. In the next section, we will do a quick test of the above changes.
Test the Node.js Feature Flag
To test our change we will re-run the application with:
Then hit the browser again at http://localhost:3000. It will render an output like this:
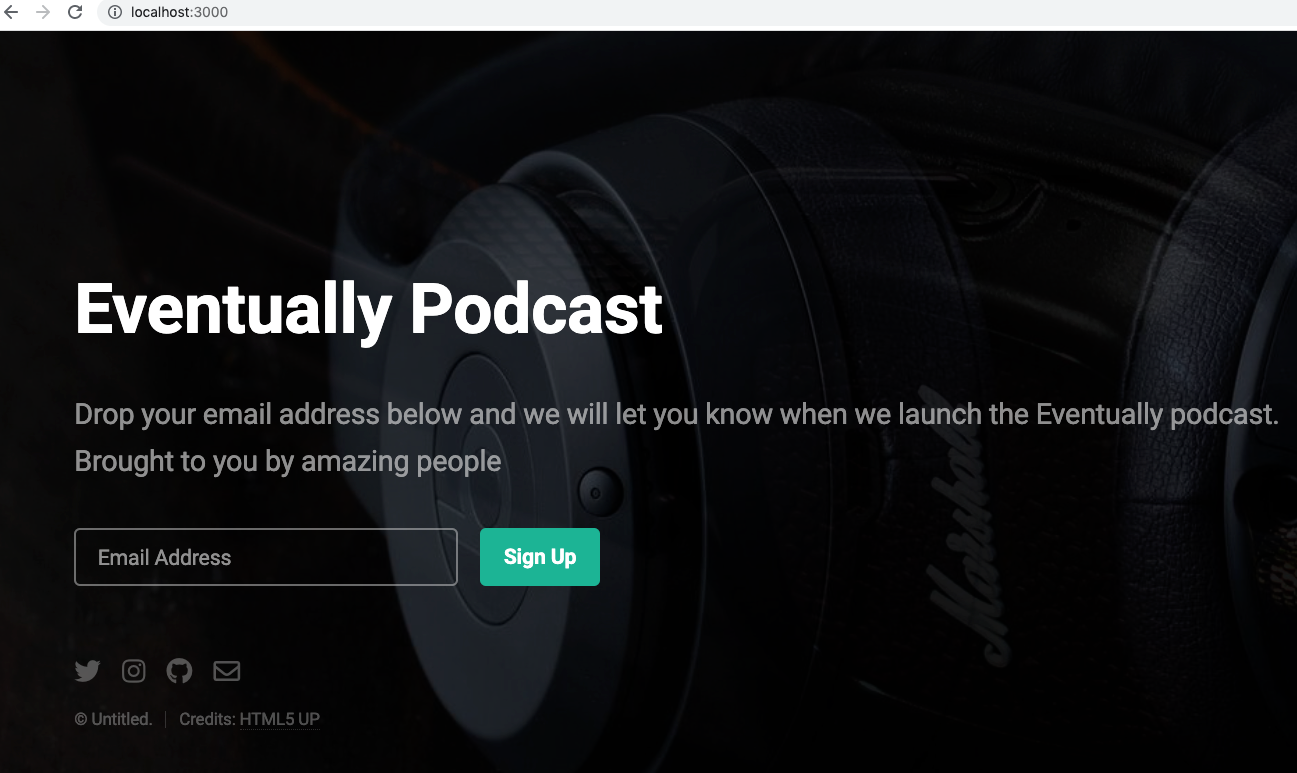
Next up we will first turn off the feature flag on the Flagsmith interface and it will look like this:
After turning off the flag and confirming the changes, if we refresh our application it will not show the footer icons and look like the below:

Great! The footer icons are gone and to bring them back it is as easy as turning on the flag, waiting for 10 seconds for the cache lifetime, and hitting refresh. As the next step, we will deploy our application to Railway.app, a simple and elegant way to deploy a Node.js app or any dockerized application.
Deploy to Railway.app
Railway.app has a free starter plan to deploy applications and trial the platform (after that, there are paid pricing plans available). To deploy the application to Railway we will first install the railway CLI, to do this we will run:
This will install the railway CLI and will result in the following:
Now as we have the railway CLI we will log in to Railway using Github, to do this we will run the following on the project root:
It will first ask us to open the browser and take us to the login screen like below:
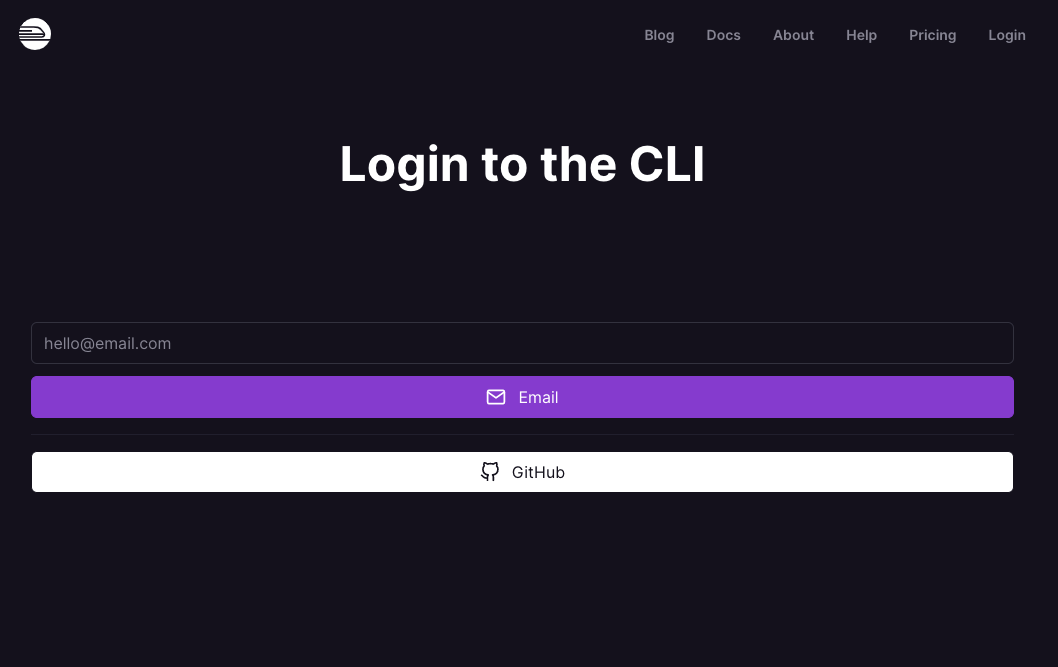
After we click GitHub and authenticate, it will confirm the authentication as follows:
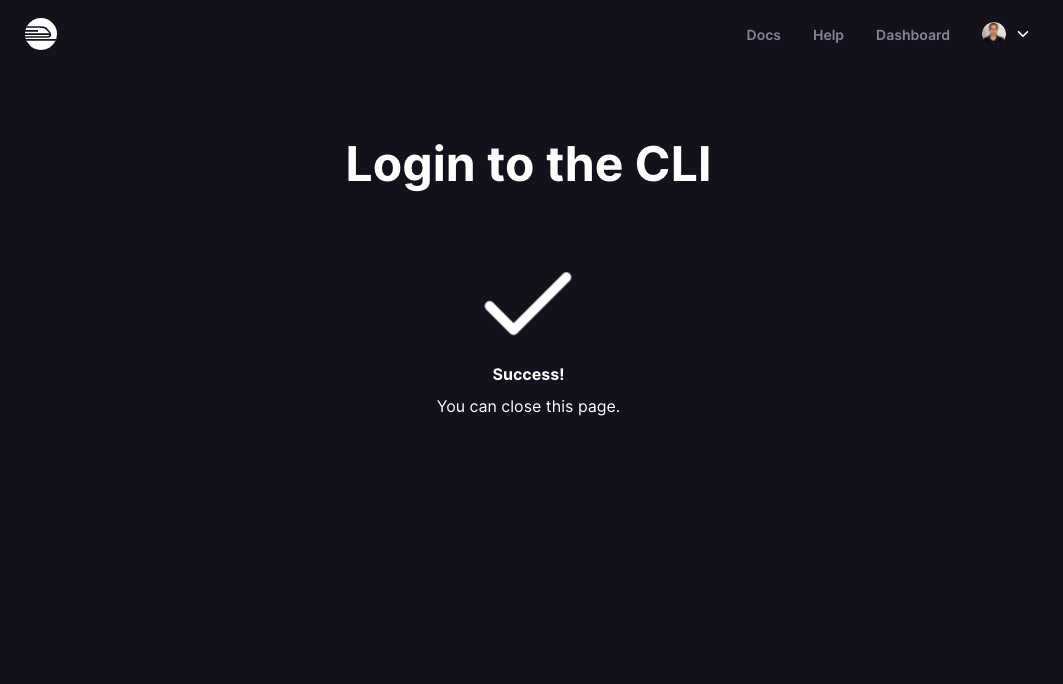
The CLI will look like the below after the authentication is successful:
Subsequently, we can initialize the project on Railway with:
It will ask if we want a starter or an empty project, just select “Empty Project” and give the project a name as follows:
It will also open the browser to show us the project settings as follows:
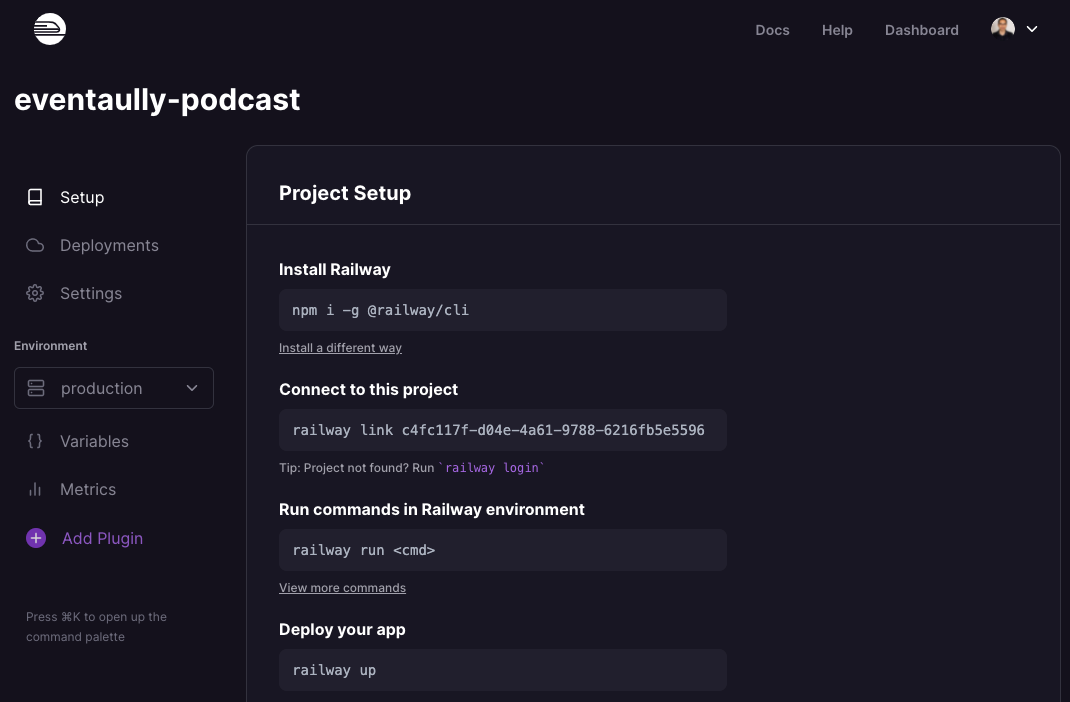
Here we will add our FLAGSMITH_ENVIRONMENT_ID environment variable from the production environment:

We will add it to the variables page of Railway’s project as follows since we want to use the Production environment not the Development one for Railway:
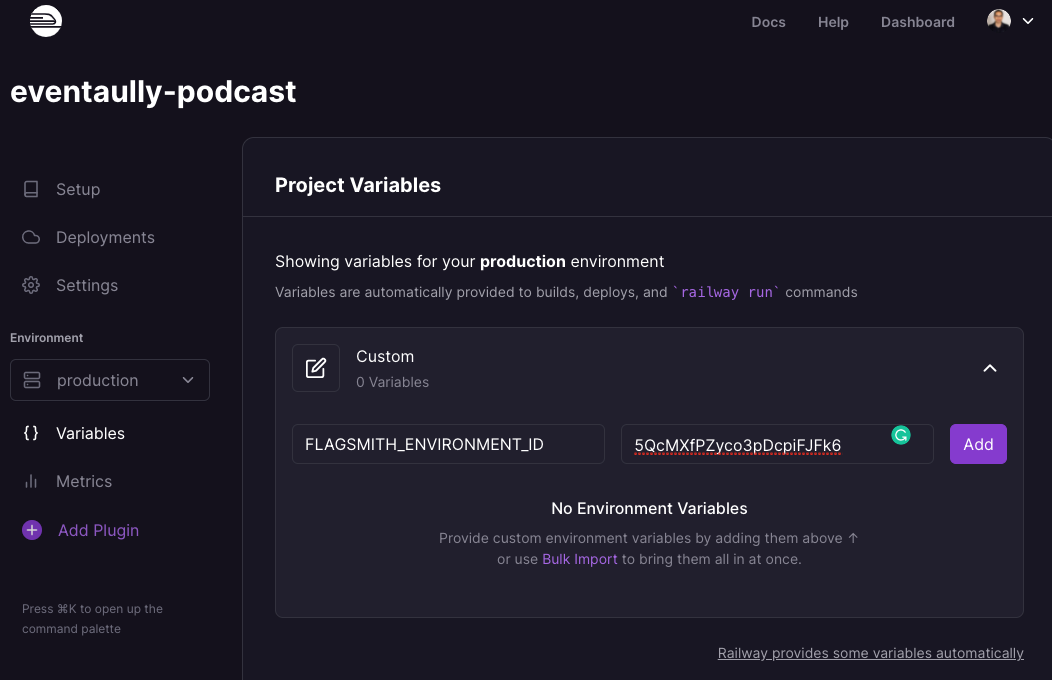
To save the variable we will click “Add”.
The next step in the process to deploy is to run:
As the application is already dockerized it will build the docker image and deploy the application. If it was not dockerized, Railway.app would detect that it is a Node.js application and deploy it using the build pack. If you are interested, please do check out their docs.
After the deployment is finished it will show us something like the below:
We will see the URL for our project that we can hit on the browser of our choice. Now when we go to that URL we should see our application working as follows:
To test the feature flag, we will turn off the flag on the Production environment and see that the footer icons disappear:
And it does work:

I will leave the feature flag on.
If you want to play around with the Node.js feature flags demo link, here it is. A few things to consider now:
- Depending on what you want to do Railway.app the free plan also supports custom domains.
- If you want, you can also use the GUI version of Railway.app and connect your own fork of the repository.
- With their GitHub integration, we can have automatic deployments configured by the git branch.
Conclusion
In this guide, we covered how to implement Node.js feature flags in a relatively simple Express.js application. The use of node-cache helped us cache the feature flag’s value locally for 10 seconds.
We also learned about using an environment variable to store the environment ID, which made it a lot easier to switch between development and production environments when deploying the app on Railway.app.
Using Flagsmith for Node.js Feature Flags
If you’re interested in trying out Flagsmith for your next Node.js project, just create your account here or contact us for the on-prem solution.
More Reading and How-To Guides
If you like this Node.js feature flagging guide, check out our other guides:


OpenTelemetry, without the vendor lock-in: Introducing full observability for Open Source and Self-Hosted Flagsmith customers


.png)
.png)

.png)

.png)


.png)


.webp)