
How to Setup Feature Flags in Android using Kotlin

.png)
In this step-by-step guide, we will explore how to implement feature flags in Android applications using Kotlin. This guide can also be applied to Java-based Android applications too. Before diving into implementing Kotlin feature flags, let's discuss the benefits of feature flagging.
Why Use Feature Flags
One of the main advantages of using Android feature flags is that they let you control the release of new features. By using feature flags, you can enable or disable specific features remotely without pushing a new version of your app to the app store—which can be time-consuming. This can have several benefits, including:
- Increased flexibility: Android feature flags let you quickly adapt to changes in user behaviour, market conditions, or business requirements by enabling or disabling features as needed.
- Reduced risk: By controlling the rollout of new features, you can minimise the risk of introducing bugs or other issues that could impact your users. (Think phased rollouts, canary deployments, and easy rollbacks.)
- Improved user experience/targeting: With feature flags in Android, you can release new features to a subset of your users first, allowing you to test and refine them before making them available to everyone. This can help ensure your users have a positive experience with the new features from day one. (e.g. Beta testing, customer segmenting, etc.)
Implementation of Feature Flags in Android
Let's dive into implementing Kotlin feature toggles in our Android application for a travel app. By the end of this tutorial, we will have an app that allows us to toggle various travel features based on what we set in the Flagsmith dashboard.
Throughout this tutorial, we assume you have a basic understanding of Kotlin and Android development. You may also find it beneficial to read our feature flags best practices article either before, or after your read this tutorial, so you can watch out for things like stale flags.
Pre-requisites
Before proceeding further, ensure that you have the following prerequisites installed on your machine:
- Android Studio: Install Android Studio on your machine. Any latest version will suffice, but this article was written using version "Flamingo 2022.2.1 Patch 1". Android Studio provides a comprehensive development environment for creating Android applications.
- Kotlin Plugins: Ensure your Android Studio has Kotlin language support. Usually, the latest version of Android Studio comes with Kotlin plugins pre-installed. These plugins enable you to write and work with Kotlin code seamlessly within the IDE.
- Virtual Device: Install a virtual device on your machine. A virtual device allows you to emulate an Android device environment directly on your computer for testing and running applications. Alternatively, you can run the application with a connected physical Android device.
Feature flag examples in Android using Kotlin: Creating a new Android application
Note: You can skip this section by cloning the existing project from GitHub.
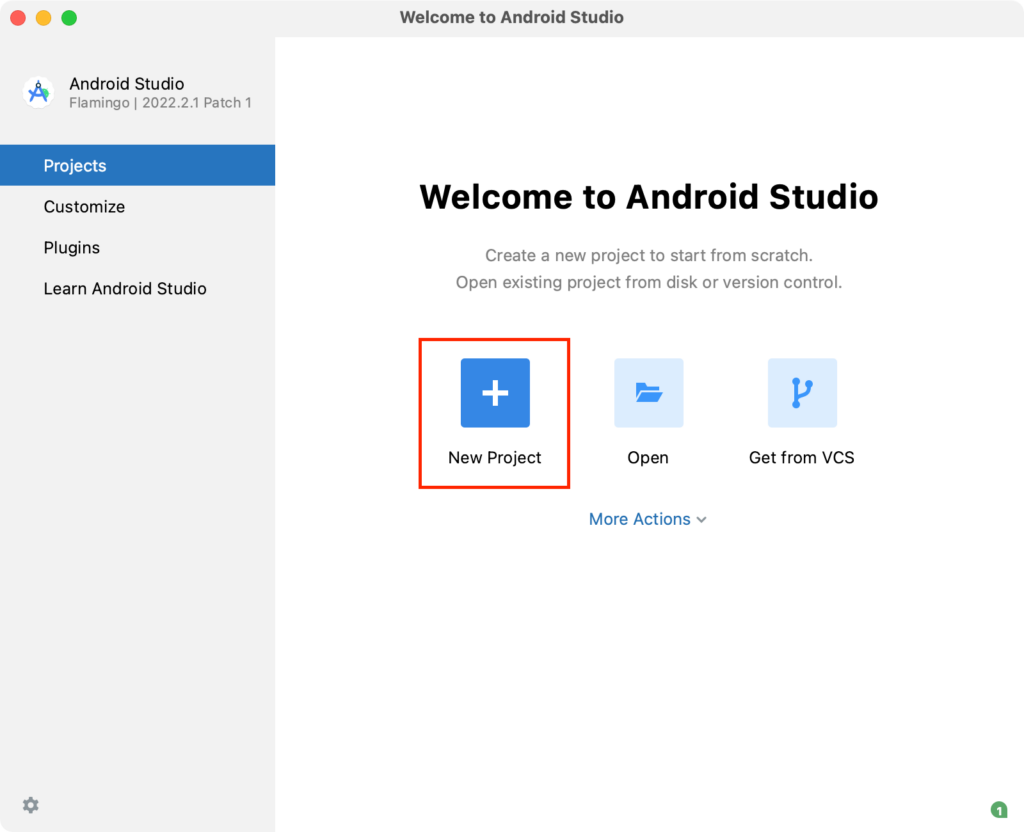
Open Android Studio: Launch Android Studio on your machine. You can find it in your installed applications or search for it in the start menu.
- Start a New Project: Once Android Studio is open, click on "Start a new Android Studio project" or select "File" > "New" > "New Project" from the menu.
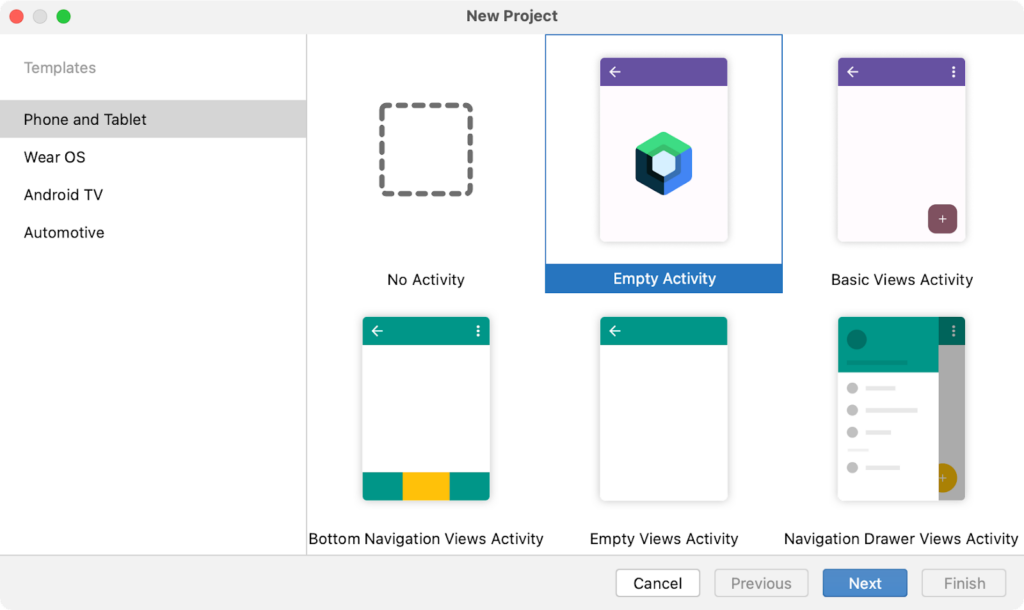
- Choose the Form Factors: In the "Templates" window, ensure that "Phone and Tablet" is selected and choose “Empty Activity”. Click on "Next" to proceed.
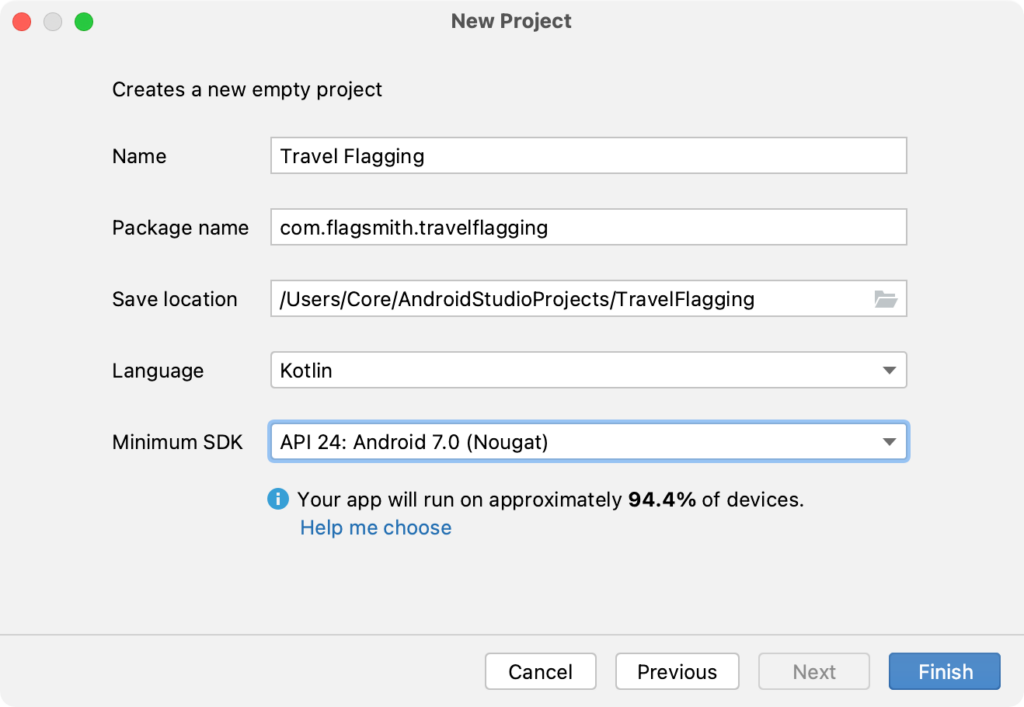
- Configure your Project: Provide a suitable name for your application in the "New project" window. You can also specify the package name (e.g., com.flagsmith.travelapp) and choose the location where you want to save the project files. Click on "Finish" when you're ready.
- Setup Virtual Device: To be able to run the new project, we need to setup and launch a virtual device to be able to run our application.
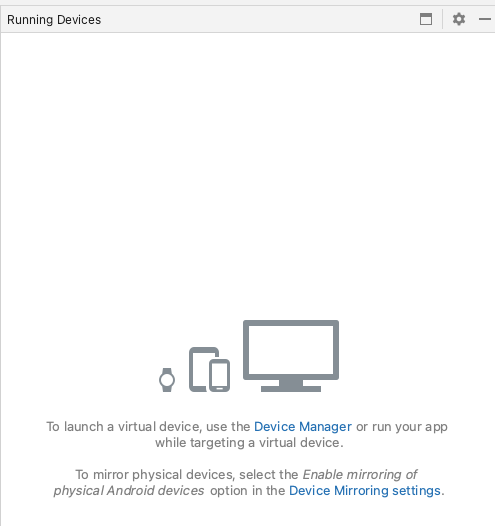
Once you have setup the virtual device, just run the application to verify that everything is set up correctly.
Congratulations! You have successfully created a new Android application project in Android Studio. In the next step, we will implement a simple UI and start implementing feature flags in the travel app.
Composing a Simple UI
We want to focus on feature flags as early as possible, so let us quickly set up the context of our application and compose a simple UI.
Imagine a dynamic Travel application brimming with various features such as hotel booking, flight booking, AirBnB rented space bookings and train bookings. However, we understand that there might be instances where we wish to disable certain features temporarily, like flight booking. If you're looking for feature flag examples in Android, this is a great option—here feature flags are the saviour of the day for our application.
To start with, here is what the UI of the application looks like:
To check the code for the design of this screen, check the MainActivity code here on the GitHub repository.
What we have done here is, whenever we click on a button, we show a toast. We will modify this code to get a feature status from Flagsmith and allow the user to make an operation only if it is toggled ‘ON’ in the Flagsmith dashboard.
Adding Dependencies
Now, to start working with Flagsmith, we need to add the correct dependency:
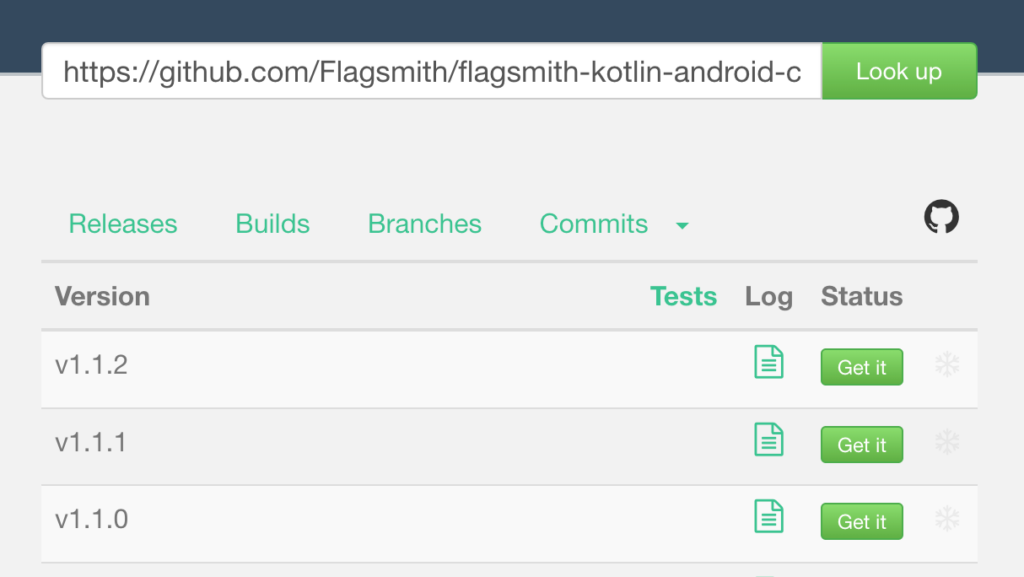
I highly recommend using Jitpack.io to find out what latest version of Flagsmith SDK to use. Also refer to the GitHub repository for the same.
Once you have added the above in the dependencies section of build.gradle file, also edit settings.gradle file to refer to jitpack.io for this dependency:
Notice how we have added the maven reference to the jitpack.io repository.
Once all this is done, now we are ready to move to the Flagsmith dashboard to register our application to be able to create Android feature flags!
Create a Flagsmith Key
Before we proceed, let's get started by signing up on Flagsmith and creating a Key for our application. The best part is, it's completely free! By signing up on Flagsmith, you'll have access to powerful feature toggling tools that empower you to control your application's features with ease.
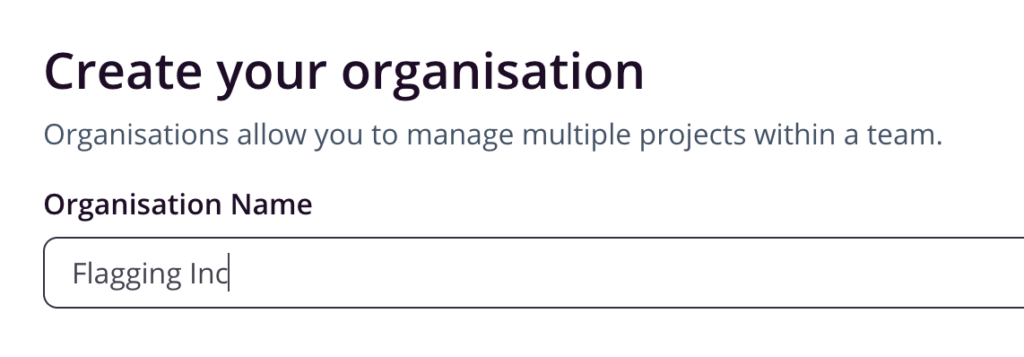
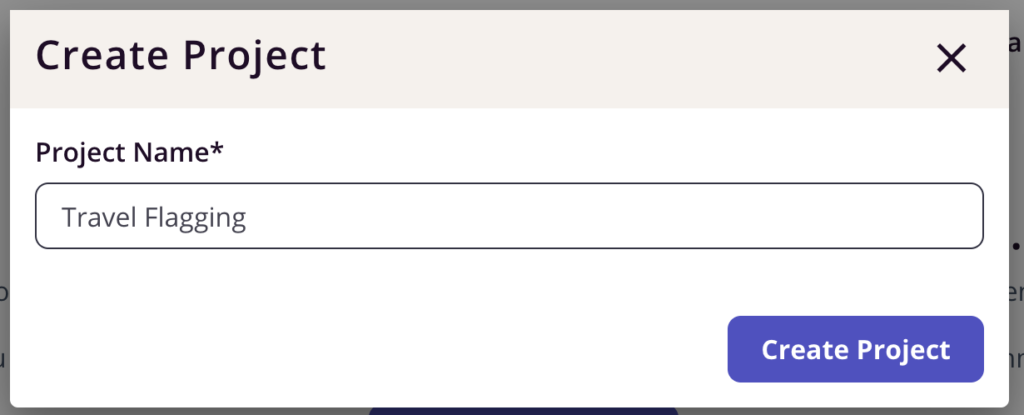
Once you've completed the signup process, you can create your own organization and project within Flagsmith. Let's take a look at an example: I've created an organization called 'Flagging Inc' and a project called 'Travel Flagging.'
When you first start using Flagsmith, it sets up two environments for us: Development and Production. But here's the exciting part: Flagsmith lets us create even more environments if we need to expand our experimentation horizons.
Also, the features in Flagsmith are made up of two different data types:
- Booleans: These allow you to toggle features on and off.
- String Values: configuration for a particular feature.
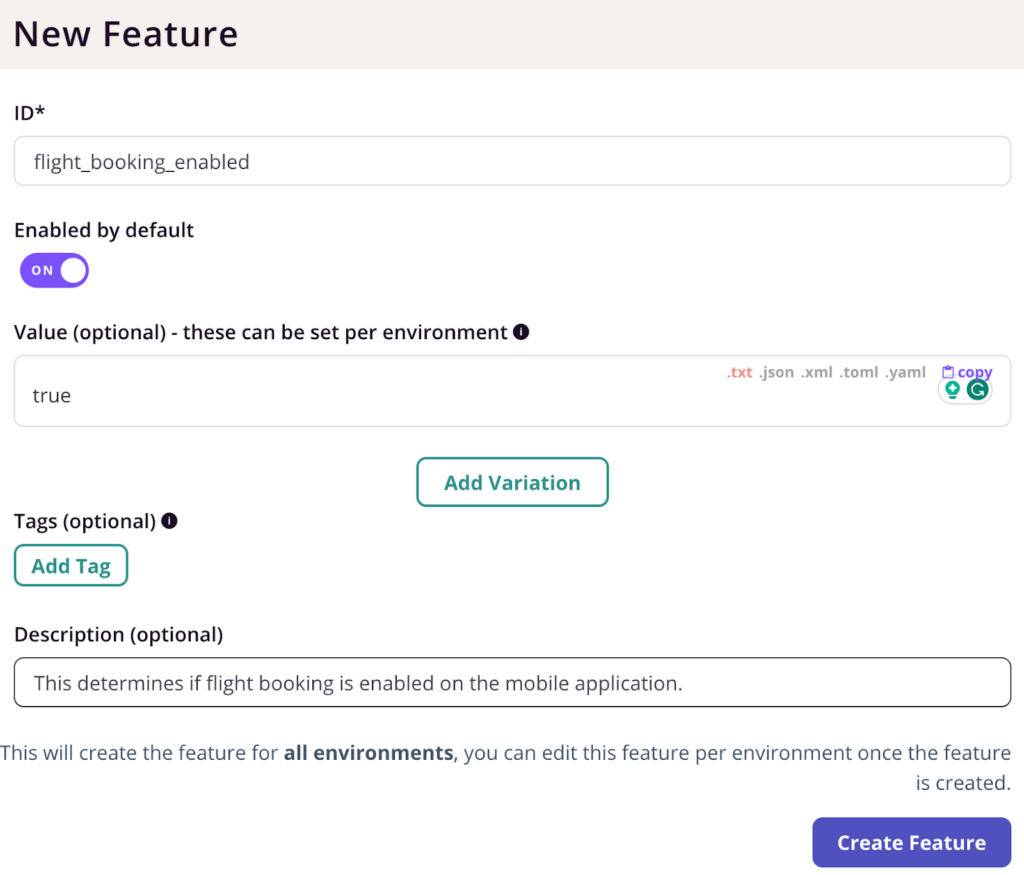
With Flagsmith, we have the power to shape our app's features, toggle their existence, and craft personalized configurations. For the rest of this article, I’m going to use only the ‘Development’ environment. Here is the feature which I created:
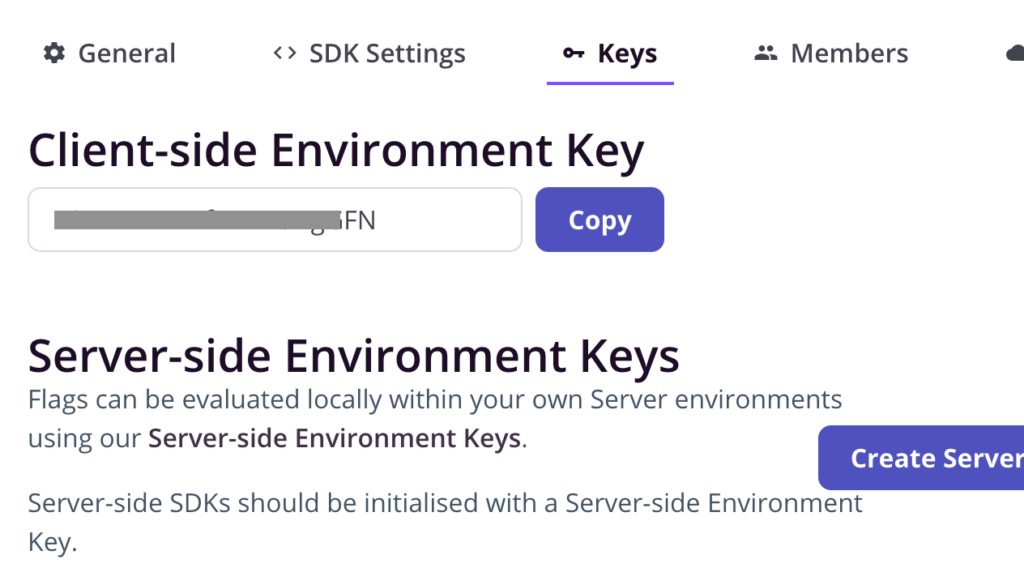
Create Flagsmith Key
Now that we have created the project and one of the features, we can extract the Client-side API key from the dashboard and put it in the project:
Now we can put all of this configuration in the MainActivity class:
Initialise Flagsmith SDK
When your application starts, The first step is to initialize the Flagsmith Android/Kotlin SDK in onCreate like this:
The last piece of configuration (which you might have already done in your app) is to be able to reach INTERNET and hence, we need to add that permission in the manifest.
Of course this is necessary to do, as without this, we will not be able to fetch Android feature flags from the Flagsmith API.
Fetch Android feature flags from Flagsmith
Now that we have ensured all the configuration is done, we can start to fetch the Android feature flags in our application and show a message if a feature is turned on.
To do the same, we will add code to the button click listener for our flight booking feature, here is the function that gets called on the ‘Book Flights’ button click:
With that in place, let’s run out the application and notice what toast is brought on screen, remember we set the value of this feature to true in the Flagsmith dashboard:
As expected, the true flag appeared. Now let’s make a quick test and turn the flag to false in the Flagsmith dashboard.

Without restarting our application, let’s click on the button again and see the changes:
Voila! The feature flag was updated at runtime, which is excellent. This means no app update or even restart was not needed for the updated feature flag to take place.
Local Cache to Avoid Network Latency
Let’s discuss the implementation of a local cache to mitigate network latency when working with feature flags in our Kotlin Android application. Caching is crucial when repeated network requests can cause delays and impact the user experience. Using a local cache, we can store previously fetched Flagsmith feature flag values and retrieve them without making additional network calls.
When using Flagsmith feature flags in Android/Kotlin applications, retrieving the flag values from the Flagsmith API is common. However, relying solely on network requests to fetch flag values can introduce latency, especially when multiple requests are made repeatedly.
Network latency can occur for a number of reasons, including slow internet connections, server response times, or network congestion. These delays can result in a less responsive application and a suboptimal user experience.
Implementing a local cache can mitigate network latency by storing previously fetched feature flag values. Here's how a cache can be helpful:
- Reduced Network Requests: With a cache in place, the application can check if a flag value is already present in the cache before making a network request. If the value is available in the cache, there's no need to query the remote server, saving network bandwidth and reducing latency.
- Improved Responsiveness: The application becomes more responsive by avoiding unnecessary network requests. The cached flag values can be accessed quickly, providing near-instantaneous retrieval without relying on external API calls.
- Offline Availability: A cache allows the application to retain flag values even when the device is offline or experiences network connectivity issues. This ensures that the application can still function using the cached data, providing a seamless experience for the user.
To keep it simple, we have introduced an in-memory cache using a HashMap in the provided Kotlin Android application code. This cache stores the feature flag values, allowing us to retrieve them locally without making repeated network calls.
Refer to the code on GitHub to check how we have used an in-memory cache for this Kotlin Android application.
Conclusion
To start using Flagsmith as a solution for feature flags (Android), the first step is to create your account for free. You can easily create your account by visiting our platform or reaching out to us for more information about how Flagsmith could work with your teams and workflows.
More Reading
If you like this “Feature Flag Android” guide, check out our other guides:


.png)
.png)

.png)

.png)


.png)


React Native Remote Config: A Step-by-Step Implementation Guide


.webp)