
Java Feature Flags & Toggles: A Step-by-Step Guide with a Working Java Application


Introduction to Java Feature Flags
In this tutorial, we will learn how to use the Flagsmith Java SDK for a Java application. We will cover the fundamentals of feature flags/toggles, how to build a basic Java server application, and how to integrate Flagsmith's Java feature flags SDK to make the application much more powerful. This is a zero pre-requisite guide.
So, let's dive deeper into the Java feature toggle topic!

What is a Feature Flag?
Before we dive into the development work, let’s first understand what feature flags or feature toggles are, and how they can help development teams deliver value more quickly.
Feature flags are one of the most important components of any application. They let you modify the functionality of your code without the need for any code merge, redeployment, or any other heavy lifting. Toggling a feature flag is (in general) becomes as simple as clicking a UI button. Feature flags have the power to make releases a lot more efficient and a lot lower risk, as rollouts (and roll backs) become much easier.
Feature flags let you to turn some behaviour of code on/off, or they let you alter the code behaviour based on the feature flag value. As a basic feature flag example, say you frequently want to change the price of an article on your website without needing to redeploy code—you could do this with a feature flag in Java. There are various ways feature flagging can be implemented here: a) fetch the value periodically from the server, b) fetch the value every time it is required. We will be looking at both of these methods in detail below.
What are Some Use Cases for Java Feature Flags?
Java feature flags can help with more efficient feature rollouts to customers and are often a part of making deployment processes more agile. They can be used for things like phased rollouts and gradual feature rollouts, A/B testing, segmentation and releasing to different user groups, behaviour experiments, and feature versioning. (Plus, wrapping the code in a flag helps with easier rollbacks if anything does go wrong.)
Why Use Feature Flags in Java?
Let’s understand this through a very simple real-life feature flag example:
Imagine you are driving a car and suddenly the air conditioner starts making a weird noise. You might try to change the fan speed/modes of the air conditioner and if that doesn’t help, you will turn it off. Next, you will reach out to a mechanic and once the part is fixed, you will turn the A/C back on and continue with your journey.
This is analogous to how you would use feature flags when anything goes wrong with your application. The fan speed/modes that we talked about above are the feature flag values that can be updated. Turning it off is the same as disabling the feature flag. This would prevent your app clients from viewing a weird unexpected error screen on that page. Ideally, when the feature flag is disabled, you would show users a message like “This page is under maintenance, please come back later”. Once the issue is fixed, you can re-enable the feature flag.
To get the most out of flags, there are feature toggle best practices you can follow.
Let’s get started with Java Feature Toggles!
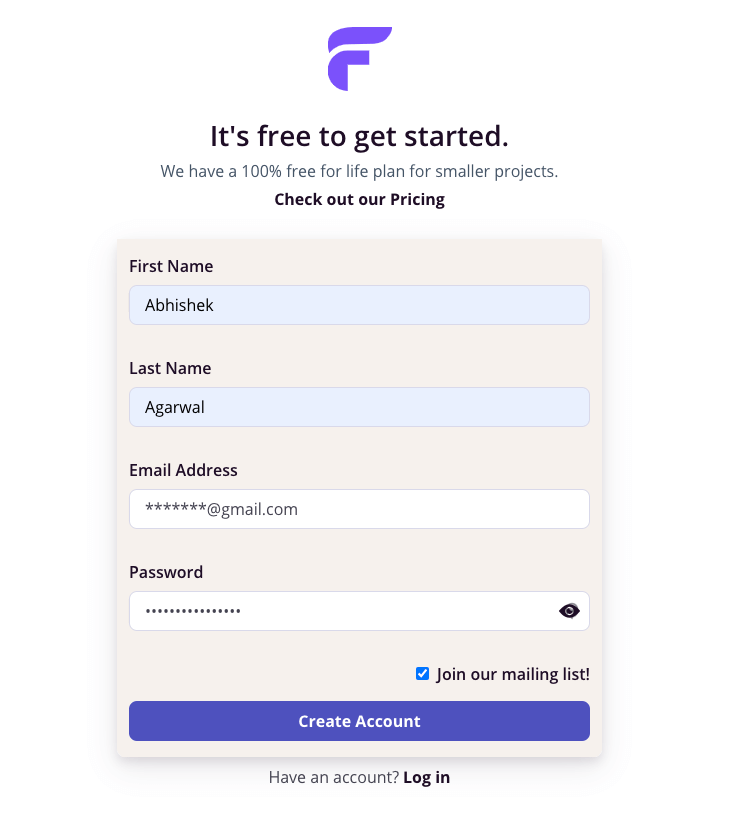
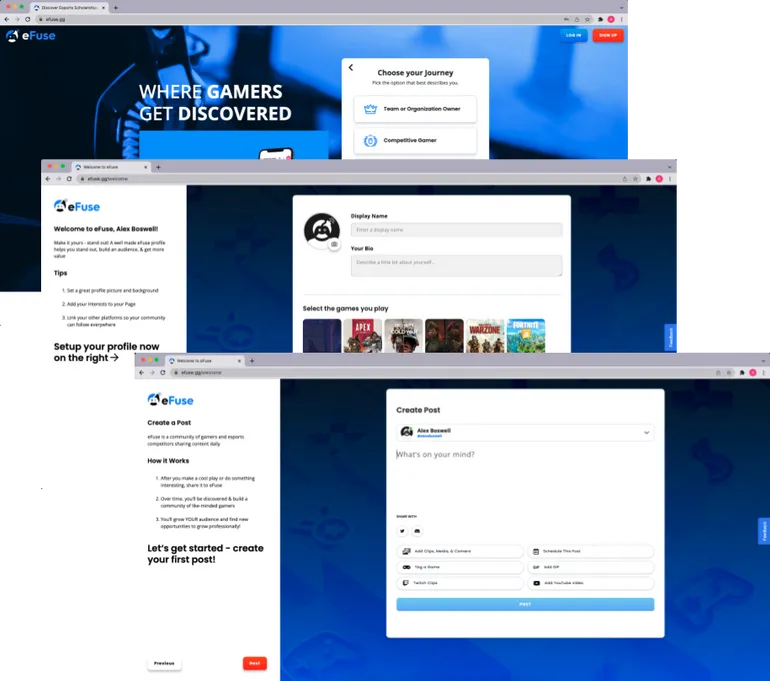
As a first step, we need to create an account on https://www.flagsmith.com/. It offers simple sign-in with Google or GitHub options. Or you can just fill in your basic details at https://app.flagsmith.com/signup. The below screenshot shows the signup process:
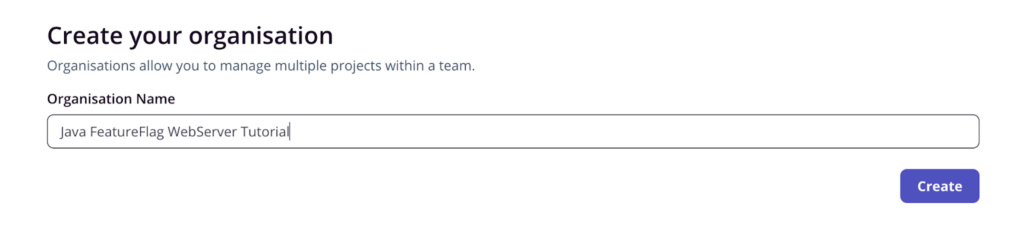
It will then ask you to create an organization. For the purpose of this tutorial, I’ll name it Java Tutorial. You can name it anything you prefer.
Next, we need to create a project inside this organisation
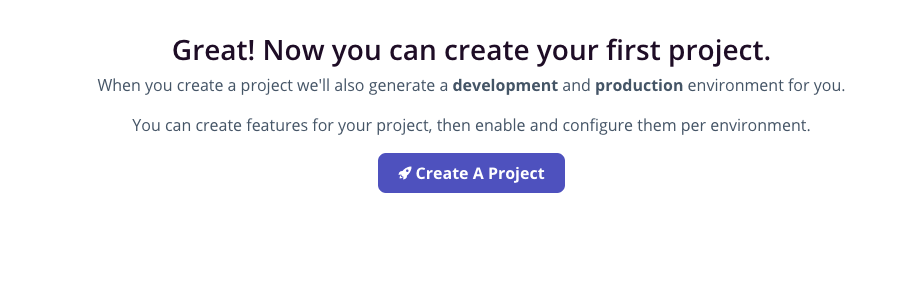
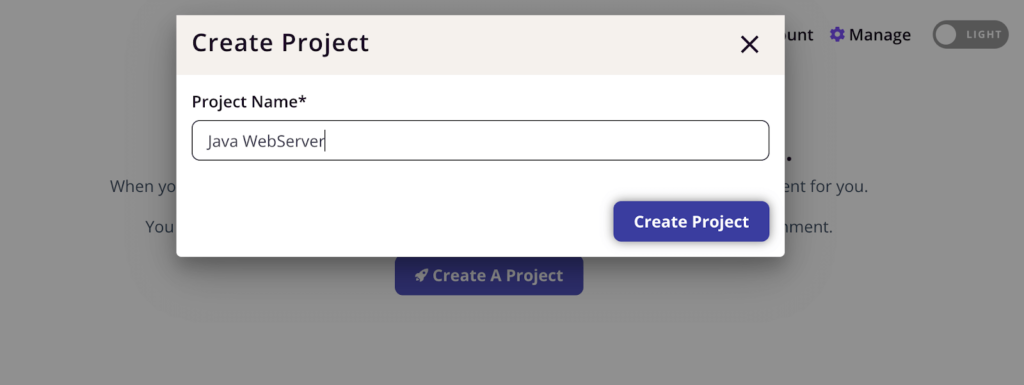
Click on “Create A Project”. The below screen should pop up. Enter your project name. I’m creating a project with the name “Java WebServer”. Feel free to name it as you want.
Congrats! You have already completed the Flagsmith setup process. You should see the below screen now.
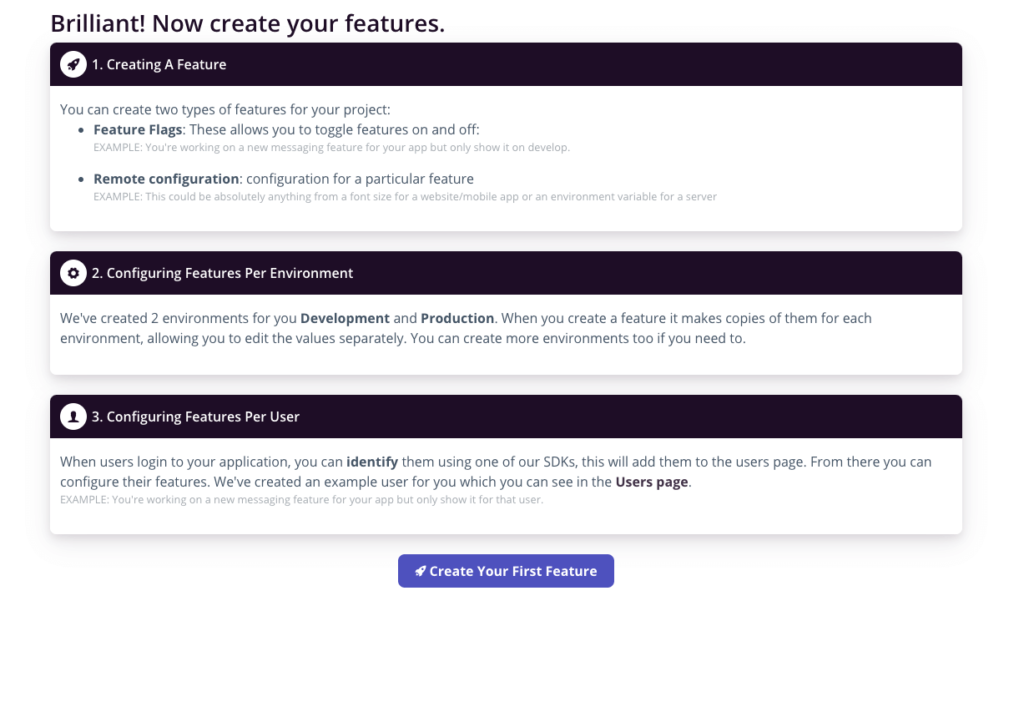
We will come back to this screen when we want to add a feature toggle in Java to our application.
Now, let’s start by creating a Java WebServer application.
Let’s code!
Let's look at some real-life feature flag examples in Java. To keep the tutorial simple, we'll create a rudimentary Java server application. It will be exposed on localhost and will use the local system storage. This server maintains a list of books and exposes two APIs:
- to add a new book and
- to query the books present in its records.
If you do not have Java installed on your system, download and install the latest stable version from this link based on your OS and System specifications.
TL;DR: All the code is present at https://github.com/abhishekag03/flagsmith-java-feature-flag-demo.git with step-by-step commits. Feel free to refer to it at any time if you feel confused.
STEP 1: Java setup
Make sure you have Java installed by running this command on your terminal:
I’m on version 1.19.1, thus getting the below output.

STEP 2: Create a blank Maven / Gradle project
Most modern IDEs offer the functionality to create a Maven or Gradle project with just a few clicks of buttons. Here, I will be creating a Maven project on IntelliJ.
I have kept the project specifications as shown below:

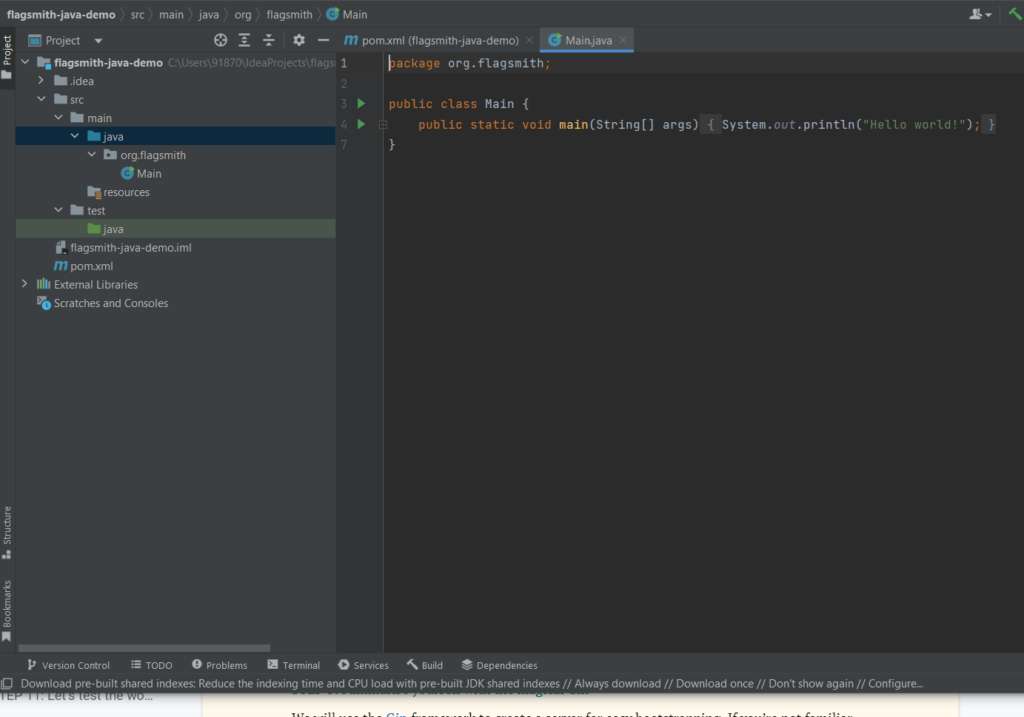
The image below shows the base directory structure that got auto-created. The Main.java file below has a basic “Hello world” function.
STEP 3: Use the HttpServer library to create a basic HTTP server
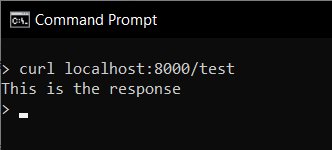
We will expose port 8000 and expose a single endpoint. The below code exposes localhost:8000/test and just returns “This is the response” with a Status code 200.
Run your application by clicking the green “Run” button on your IDE.
The same can be verified by hitting the test endpoint via curl from your terminal.
The output should be as shown below
STEP 4: Add GET and POST handlers
Modify the handle function so that it can call the appropriate method based on the Request type. We are using a common endpoint for GET and POST requests. The implementation of both of these methods will be added in the steps that follow.
STEP 5: Create a Book class to structure the data
Here I’m creating a Book class with 4 attributes -
- id
- title
- author
- price.
This class should be in the same directory as your main.java file.
Also, add getters, setters, and a constructor for the same.
STEP 6: Populate dummy data
First, we need to populate some dummy data containing books. We will have a global book variable to store the new and existing books. Initialize this in the Main class.
Populate this books list with 3 same books using the below function:
Your `main` method should now look as follows:
Note that the endpoint name has been updated to `books` now.
STEP 7: Complete the GET endpoint
We need to add the gson library to our pom.xml dependencies since it makes string <-> json conversion much easier. Add the below lines to pom.xml file:
Update the handleGetBooksRequest implementation to return the books list that we populated above with 200 Response code.
Add this import to the Main.java file:
Run the application and test it from your terminal:
This image shows the expected output. You should be able to see all the books we populated above.

STEP 7: Complete the POST endpoint
From our POST endpoint, we should be able to add new books to our existing collection. We will allow adding one book at a time only.
We need a utility function to parse the request and extract a `book` object from the same. Below function helps us do the same:
The following imports will also be required:
Handling the POST request can be done with the following code. We will print a message saying “book added successfully”, once the book has been added.
Run the application and try out the below POST request to add a book titled “Famous Five”:
The Terminal must show “book added successfully”

Since this book is now added to the global storage, hitting the GET endpoint now should return 4 books in total.

STEP 8: Add the power of Flagsmith Java Feature Flag Software
With Flagsmith, we can control a variety of components of our Web Server. Let’s imagine a case where we do not want to allow adding new books for a certain interval of time. The naive way is to edit the code and put a logic there to stop adding new books and then remove this logic once we want to allow it back.
What if this could be done with the click of a button? Flagsmith allows us to do that with a very minimal one-time configuration. We will create a new feature that will stop allowing users to add new books when turned off.
Time to return to our Flagsmith UI. Click on the “Create your first feature” button on the screen we left off above.
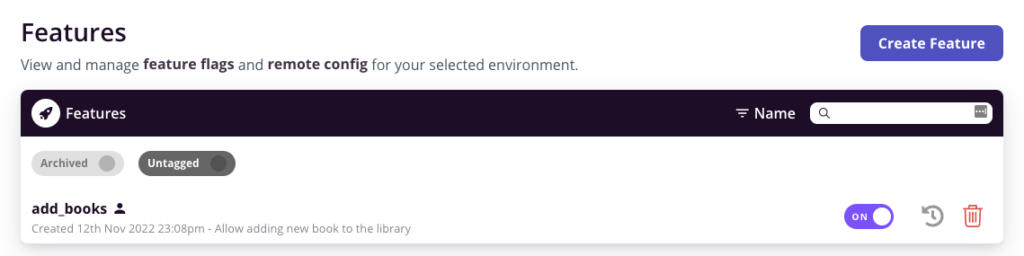
Add a new feature flag by the name “add_books”. This will control whether or not we allow adding new books. Turn Enabled by default to “true”. The below screenshot shows the configuration.
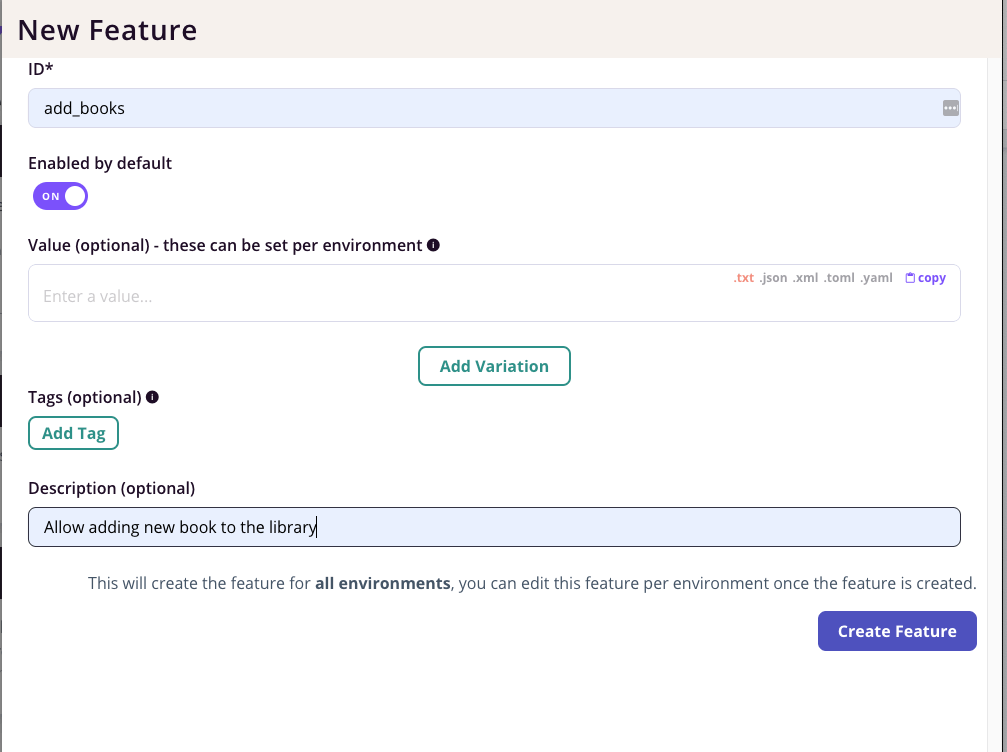
Value can be left blank, we will come back to it later. Click on “Create Feature” (Make sure you have enabled it). The UI should show the following:
We will also need a Flagsmith Server-side environment key to initialize the feature flag client. Let’s generate that.
Navigate to “Settings” from the left bar on the Flagsmith page. Click on “Create Server-Side Environment Key”. Give it a name for e.g: “java-web-server-key”

Keep the key handy in your notes. It should be of the form “ser.******....”
STEP 9: Integrate Flagsmith with your application
Let’s go back to our code now and add a one-time logic to read these feature flag values.
Flagsmith provides a Java SDK, which is very easy to integrate. We just need to add the below dependency to our pom.xml file and recompile the dependencies.
OR if you have a Gradle project:
Add this import to the Main.java file
We first need to add the API key that we copied above to a properties file in our source code. Create a new file by the name config.properties in the resources directory.
The `config.properties` file should have one property:
The below utility function will help us extract the API key from the properties file. This can be added to the Main class. In an ideal scenario, these helper methods must reside in a utility class such as FeatureFlagService.java.
This function will be used to initialize the Flagsmith client.
Create a global Flagsmith client variable that can be used by all the handlers. This client must be initialized before starting the server.
Initialize the fsClient inside the main function:
STEP 10: Use the Java feature toggle to control API behaviour
We will now modify our POST request handler so that it allows adding new books only when the feature flag is enabled. The modified handlePostRequest method looks as follows:
The above code will require adding the below two imports as well:
By default, the feature flag is on and hence we should be able to add a new book.
Run the application and try adding a new book with the below request.
You should be able to see a success message. This book gets added successfully.

Now, we will try turning the `add_books` feature off. Navigate to the Flagsmith UI and toggle it “off” as shown below.
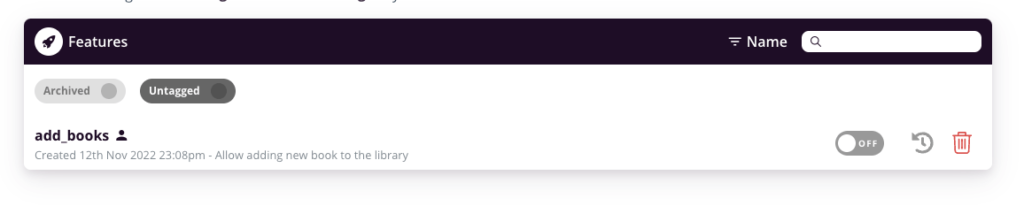
Trying the same POST request as above now gives an error message saying “method not allowed. Please come back later”.

This is how powerful Flagsmith is. With just one click, we could change the functionality of our application entirely.
STEP 11: Leveraging Java feature toggle values
While creating a new feature, we saw an option to add a feature value. Let’s understand how that can be useful.
For instance, due to some requirements, we only want to accept books that have a price greater than $20. This is to avoid filling up our library with cheap and less popular books. This helps us maintain a standard.
However, we want to keep varying this threshold price based on the rush and staff capacity. It is definitely not feasible to amend the code every time as per the requirement.
What if this can also be achieved with the click of a button? Yes, with Flagsmith it can be.
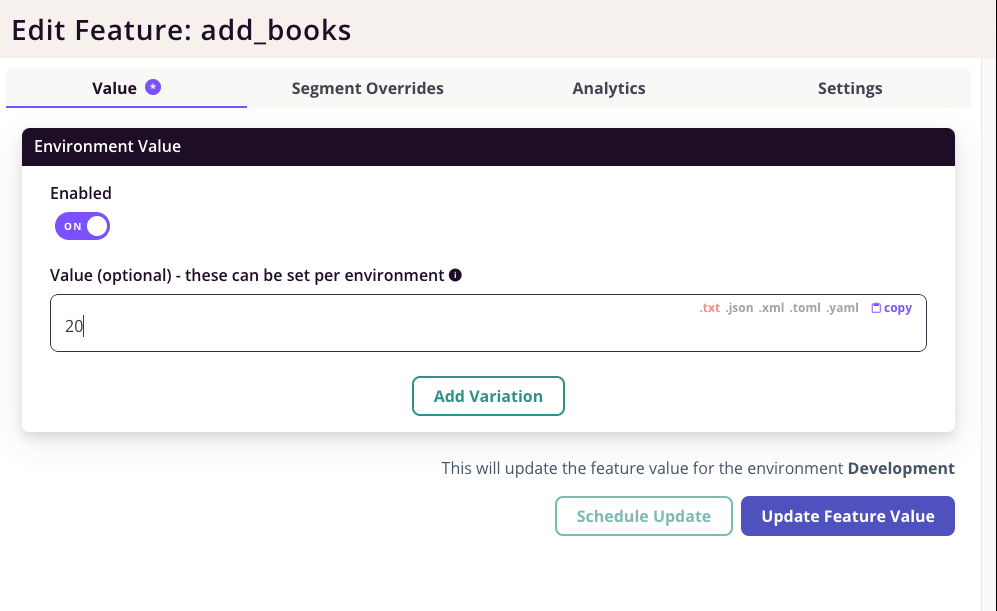
Go ahead and update the feature flag value to 20 as shown in the below image. Also, do enable the feature back so that we can continue testing.
We need to update our code slightly to also read the feature flag value and act accordingly.
Note the following things:
- The if condition inside `allowAddBooks` checks if the book price meets our minimum price condition. If it does, it would add it to the books list, else return an error message.
- The “add_books” feature flag string has been replaced with a constant “ADD_BOOKS_FEATURE_FLAG” which has the value “add_books”
Testing the above change:
Make sure to re-run the application after the code changes are complete.
- Adding a book with a price $25 (should work):

- Adding a book with price $15 (should throw an error):

Both the results are as expected. The first one worked successfully and the second one threw an error.
STEP 12: Flagsmith Local Evaluation mode
We just saw above that every time a POST request is made to our server, it will make an additional API call to fetch the feature flag value. This sounds like an expensive operation, especially in the case when our server receives thousands or millions of requests per minute.
In such cases, the Local evaluation mode is the best suited. With this, the feature flag value gets auto-fetched periodically after a defined interval (say 1 minute). Thus, it would not make a call every time to the Flagsmith server. This saves us a lot of time per request in large-scale systems.
A thing to keep in mind is that this does not allow a sudden change in the behavior of our application. Hence, this should not be used in the case when we are dealing with financial data or some millisecond-sensitive updates. The change will take up to X seconds to reflect in your code, where X is the refresh time interval you set while initializing the client.
Let’s look at an example with the Local Evaluation mode client which refreshes every 1 minute. We need to modify the getFlagsmithClient function with config as shown below:
Let’s create a basic Python script that will help us fire 50 POST requests in succession. This will help us compare the performance.
Save the above script and run it in two cases:
- Without local evaluation config applied

- With local evaluation config applied

Notice the difference in time. It’s 6.24 seconds v/s 0.25 seconds
This is a huge difference. This is just an example of how much time the local evaluation mode saves in our application. In servers getting loads of requests, this will be especially very helpful.
Conclusion
In this step-by-step guide, we walked through using flags in your Java applications. Feature flags in Java can give you a lot of control and agility in your software development process, lowering the risk of releases (thanks to things like easier rollbacks). This lets you release features with confidence, experiment with new functionalities, and roll out features in a more targeted way based on analytics and customer segmentation.
Get Started
If you like this Java feature flag guide, check out our SDK list (including the Java SDK). Or get started with a free account to try feature flagging.
Why Flagsmith?
- It’s free to start - so you can leverage and try feature flags right away
- Flagsmith is open-source - which makes it very trustworthy. You can look through the code, check out the roadmap, and create issues if you notice anything. Transparency is one of the biggest benefits of choosing open-source feature flags.
- Flexible deployment options and the ability to deploy on-premises. Keep control of your flags and infrastructure.
- Flagsmith offers integrations with CI/CD tools, A/B testing and analytics tools, and more. It fits within your current workflows and tech stack so you don't need to add another decision point.
More Reading
If you like this Java feature flags guide, check out our documentation or read some of our other language/framework guides:
- Angular feature flags
- Python feature flags
- Ruby feature flags
- JavaScript feature flags
- Flutter feature flags
- NodeJS feature flags
- Spring Boot feature flags
- PHP feature flags
- Golang feature flags
- Kotlin/Android feature flags
- React Native Remote Config
- Swift feature flags
- .Net feature flags


.png)
.png)
.png)

.png)


.png)


.png)


React Native Remote Config: A Step-by-Step Implementation Guide


.webp)